Migrate Azure Firewall to use Availability Zones
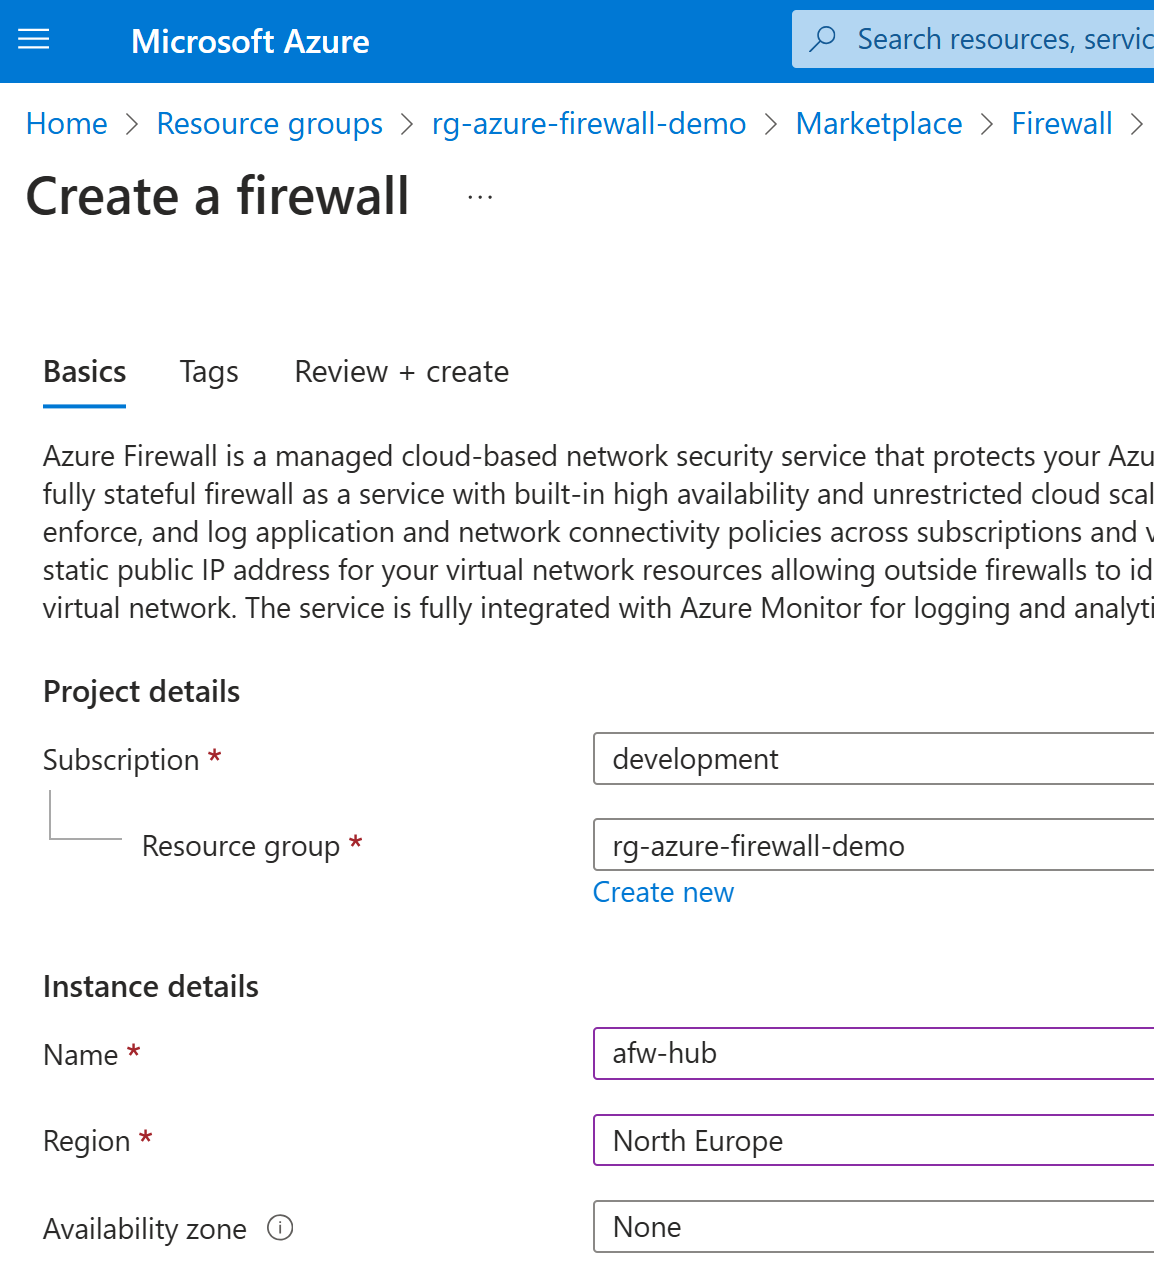
Posted on: October 21, 2024You might have deployed Azure Firewall using the Azure Portal experience:
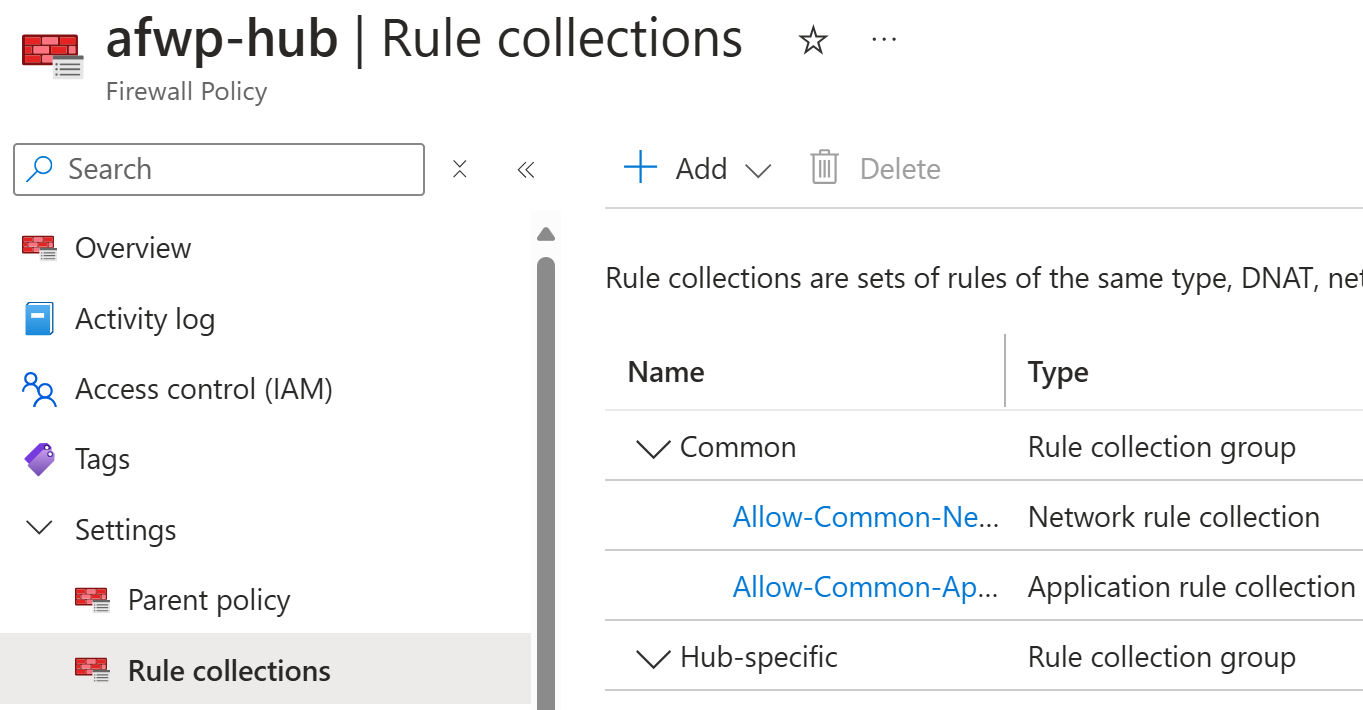
After the deployment, you add rules to your firewall:
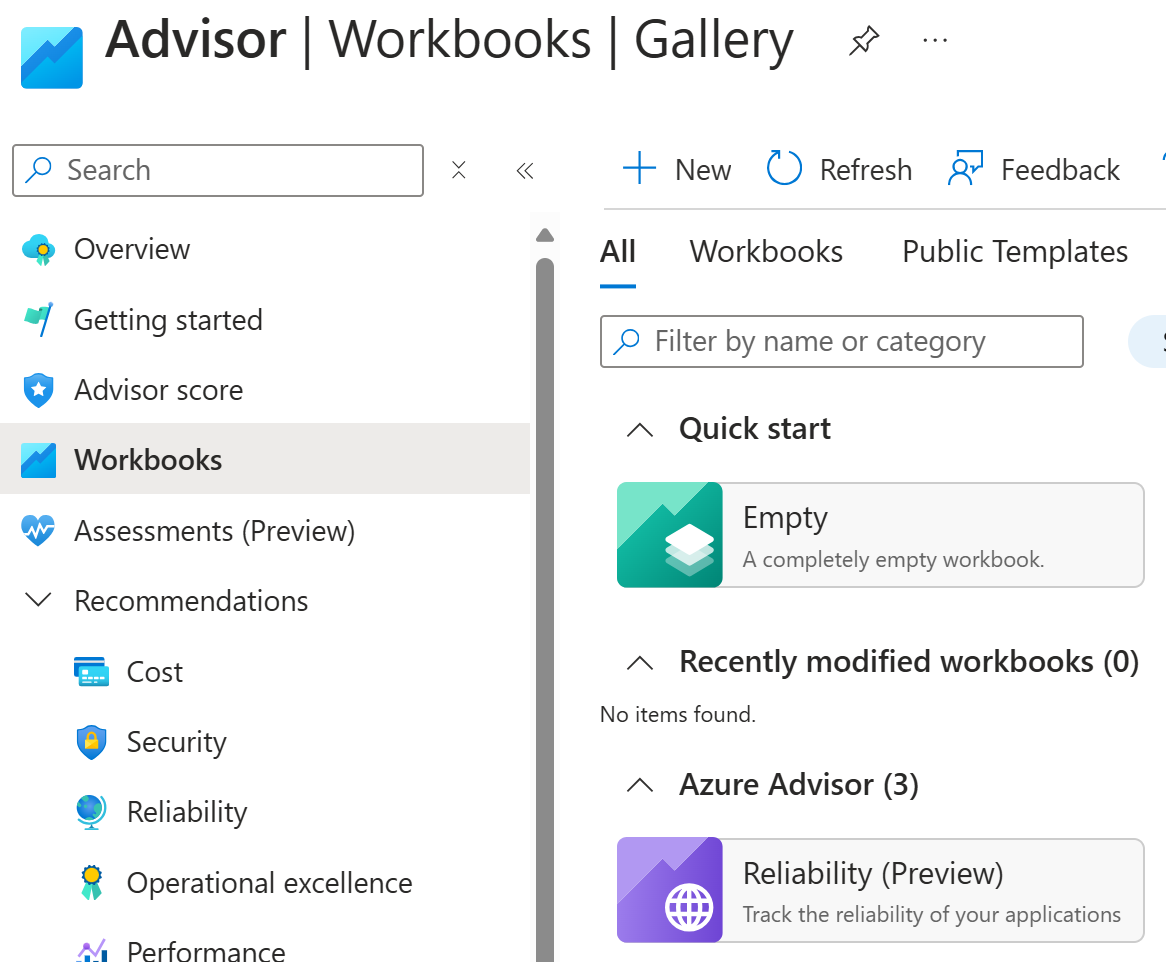
After some time, you use Azure Advisor and its ready-made workbook about Reliability:
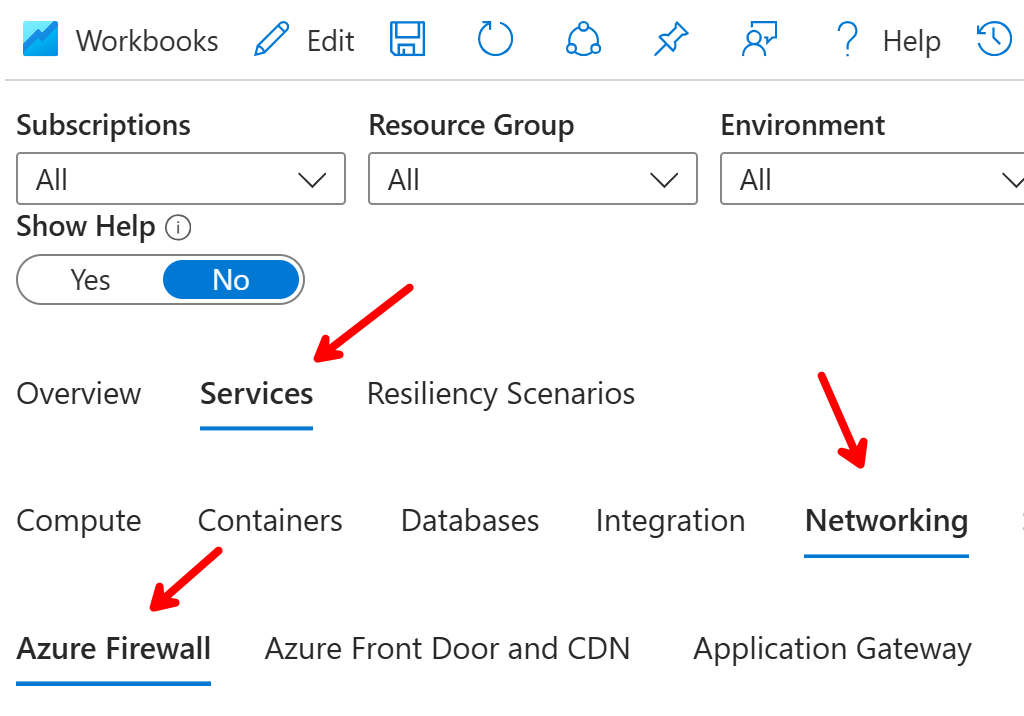
Under Services -> Networking -> Azure Firewall you can find more information about your deployed firewalls:
You notice that the deployed Azure Firewall is not using Availability Zones:
As you might have learned from my blog, I’m heavily promoting use of Availability Zones for critical services and yes, your centralized Azure Firewall is one of those services. So, let’s see how you can migrate your Azure Firewall to use Availability Zones. See Azure Well-Architected Framework perspective on Azure Firewall for more recommendations.
To test migration to availability zones, I’ll use demo environment that I have previously blogged about Learn Azure Firewall with isolated demo environment.
Code from the demo environment is available in GitHub:
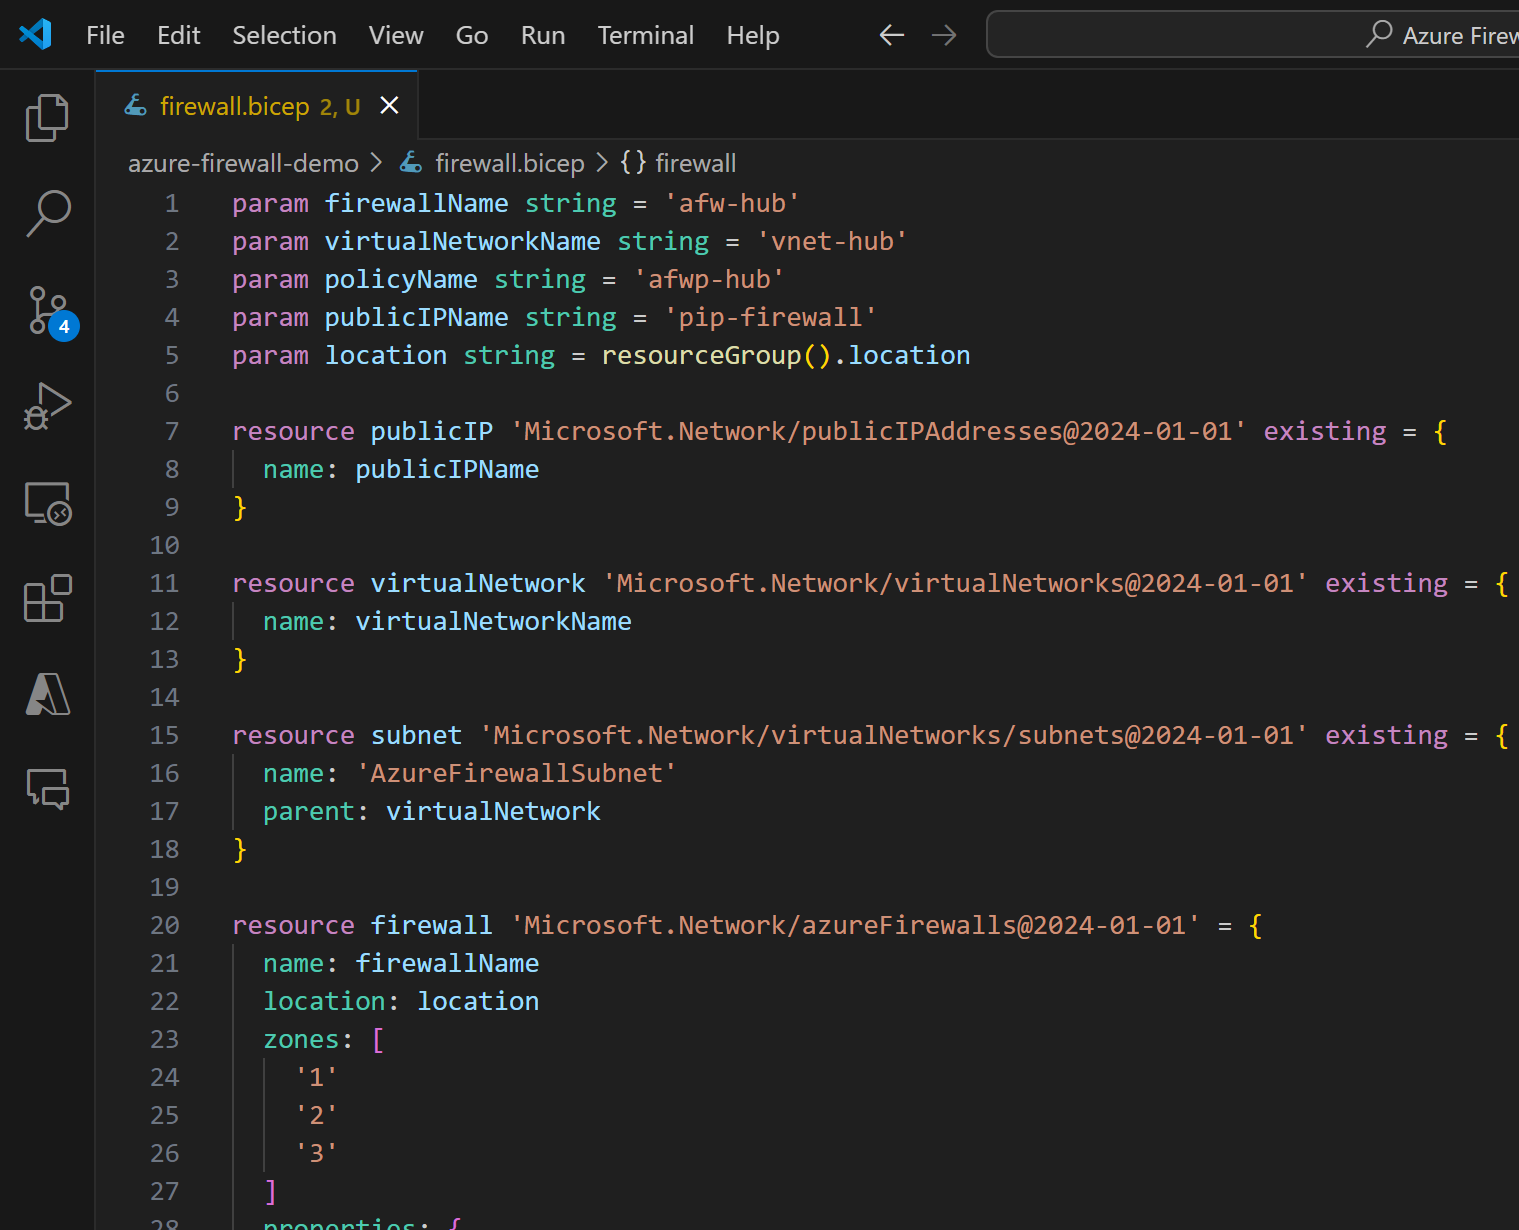
In my demo, Azure Firewall is deployed with Availability Zones, but I can easily comment out that part of the code in firewall.bicep file:
Follow the instructions in the run.ps1 file to deploy the demo environment.
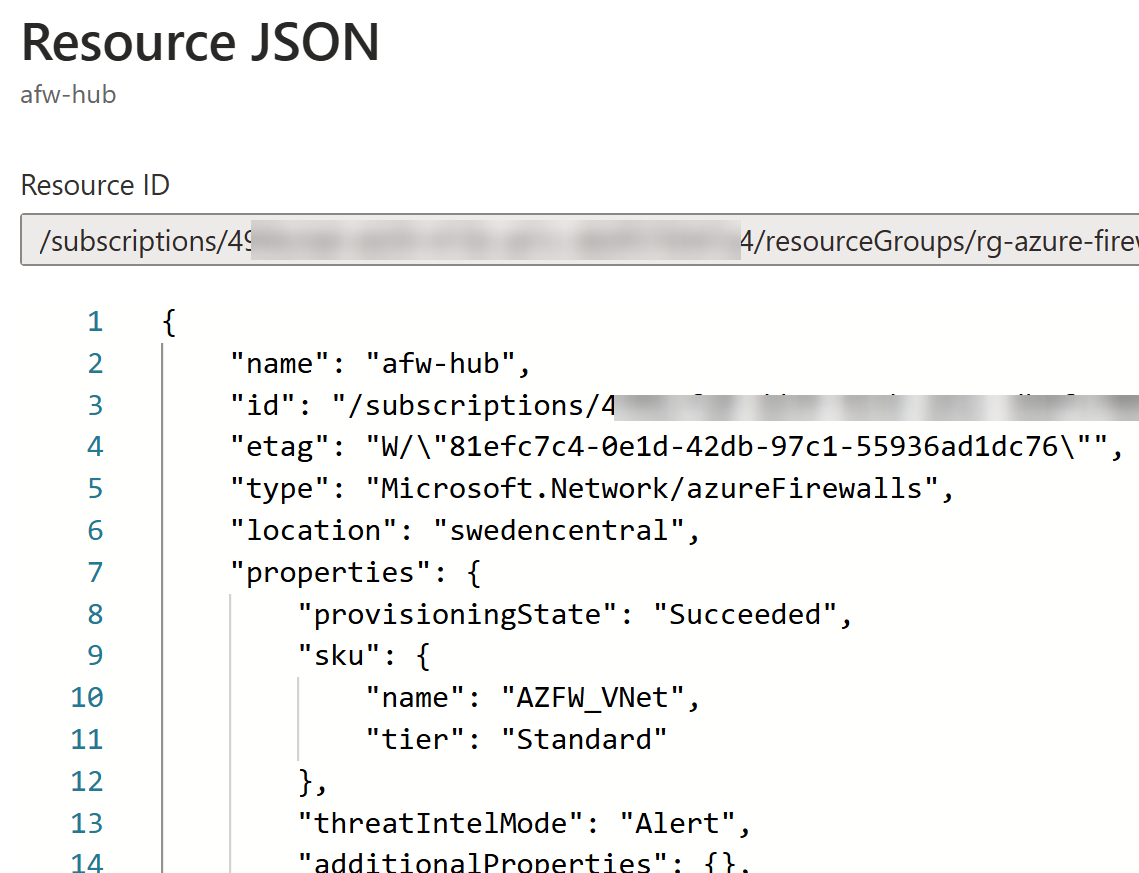
After the demo environment deployment, we can check that we don’t have availability zones in our firewall defined:
Now we’re ready to test our options.
Migration
We’re in luck, since Azure Firewall FAQ has a section about this:
How can I configure availability zones after deployment?
It gives us instructions how to migrate Azure Firewall to use Availability Zones. I took the steps and converted them to match my demo environment:
$vnet = Get-AzVirtualNetwork -Name "vnet-hub" -ResourceGroupName $resourceGroupName
$pip = Get-AzPublicIpAddress -Name "pip-firewall" -ResourceGroupName $resourceGroupName
$azfw = Get-AzFirewall -Name "afw-hub" -ResourceGroupName $resourceGroupName
$azfw.Deallocate()
Set-AzFirewall -AzureFirewall $azfw

$azfw.Allocate($vnet, $pip)
$azFw.Zones = 1, 2, 3
Set-AzFirewall -AzureFirewall $azfw
To better calculate the time it takes to migrate the Azure Firewall, I’ll use Measure-Command and re-structure the code a bit:
$vnet = Get-AzVirtualNetwork -ResourceGroupName $resourceGroupName -Name "vnet-hub"
$pip = Get-AzPublicIpAddress -ResourceGroupName $resourceGroupName -Name "pip-firewall"
$azfw = Get-AzFirewall -Name "afw-hub" -ResourceGroupName $resourceGroupName

Measure-Command -Expression {
  $azfw.Deallocate()
  Set-AzFirewall -AzureFirewall $azfw
} | Format-Table

Measure-Command -Expression {
  $azfw.Allocate($vnet, $pip)
  $azFw.Zones = 1, 2, 3
  Set-AzFirewall -AzureFirewall $azfw
} | Format-Table
First part:
Measure-Command -Expression {
  $azfw.Deallocate()
  Set-AzFirewall -AzureFirewall $azfw
} | Format-Table

Days Hours Minutes Seconds Milliseconds
---- ----- ------- ------- ------------
0    0     6       27      915
Second part:
Measure-Command -Expression {
  $azfw.Allocate($vnet, $pip)
  $azFw.Zones = 1, 2, 3
  Set-AzFirewall -AzureFirewall $azfw
} | Format-Table

Days Hours Minutes Seconds Milliseconds
---- ----- ------- ------- ------------
0    0     6       28      16
After the migration, which took less than 15 minutes in this test, we can update Workbook view to see the updated Azure Firewall configuration:
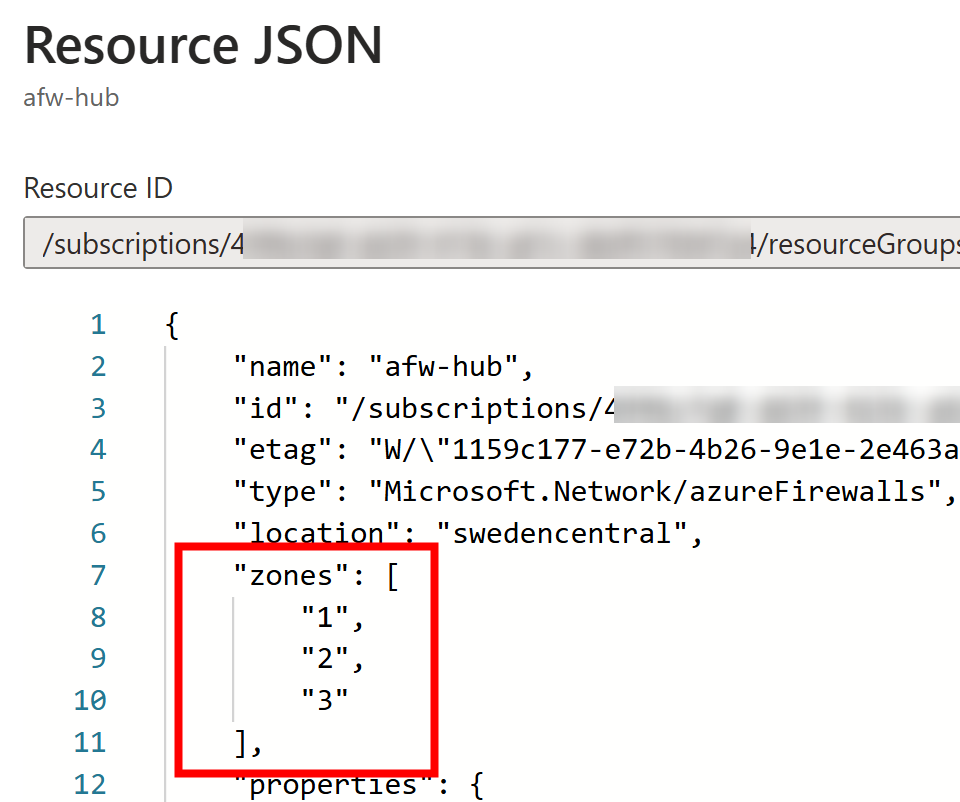
Similarly, availability zones are visible in the properties as well:
If you try to change the availability zone settings without deallocating the firewall, you’ll get the following error:
Set-AzFirewall: Azure Firewall /subscriptions/…/afw-hub
has an existing availability zone constraint and the request
has availability zone constraint 1, 2, 3, which do not match
StatusCode: 400
ReasonPhrase: Bad Request
ErrorCode: AzureFirewallAvailabilityZonesCannotBeModified
Re-deployment and Infrastructure as Code
If you can’t execute the above migration (maybe you have some limitation listed here), you can delete it and re-deploy firewall with the correct settings. You can directly use Azure Portal to deploy the firewall again with the correct settings.
If you want to go to the Infrastructure as Code route, then we need to do few things. There is document in the similar topic here: Relocate Azure Firewall to another region.
I’m going to show you how to start your journey towards Bicep deployment. If you’re new to this topic, then I recommend you to read about Choose the right export option and What is Bicep?.
I’m going to use the Export template option from the Azure Portal. For the export scope, I’m going to select the following resources:
afw-hub: Azure Firewallafwp-hub: Azure Firewall Policyvnet-hub: Virtual Networkpip-firewall: Public IP address of the firewall
In you export, you should include all those resources that you need to part of the firewall deployment.
After the export has created the template, you can select all the text (shortcut: Ctrl-A) and then copy the content to your clipboard (shortcut: Ctrl-C):
Open up VS Code and make sure you have
Bicep language support for Visual Studio Code
installed.
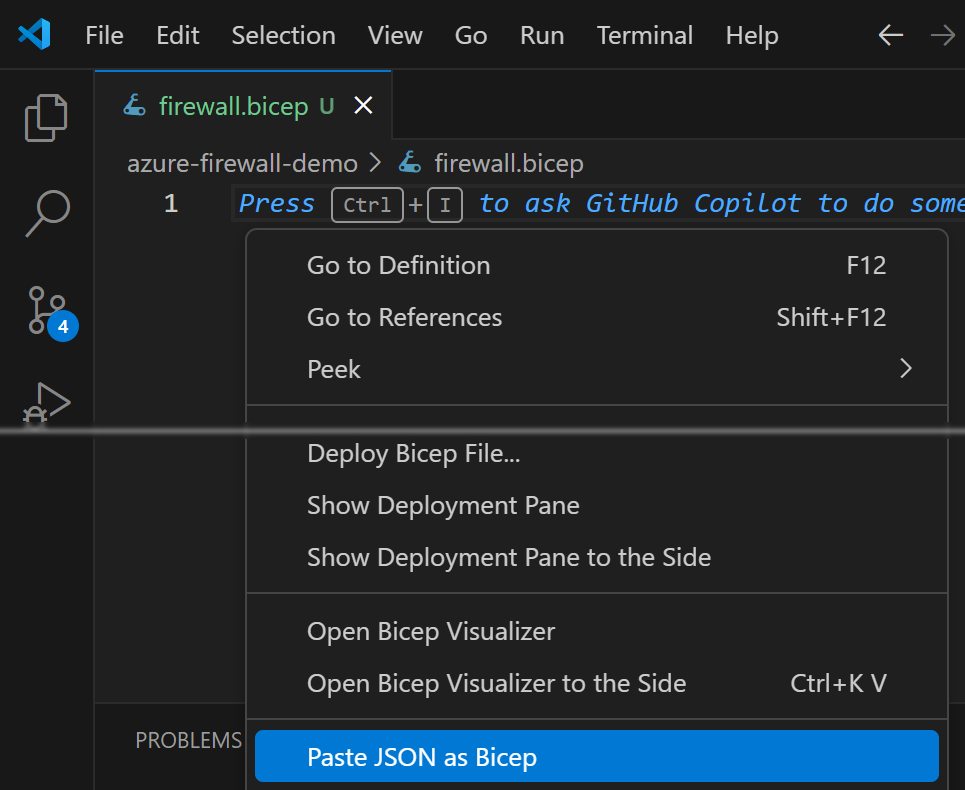
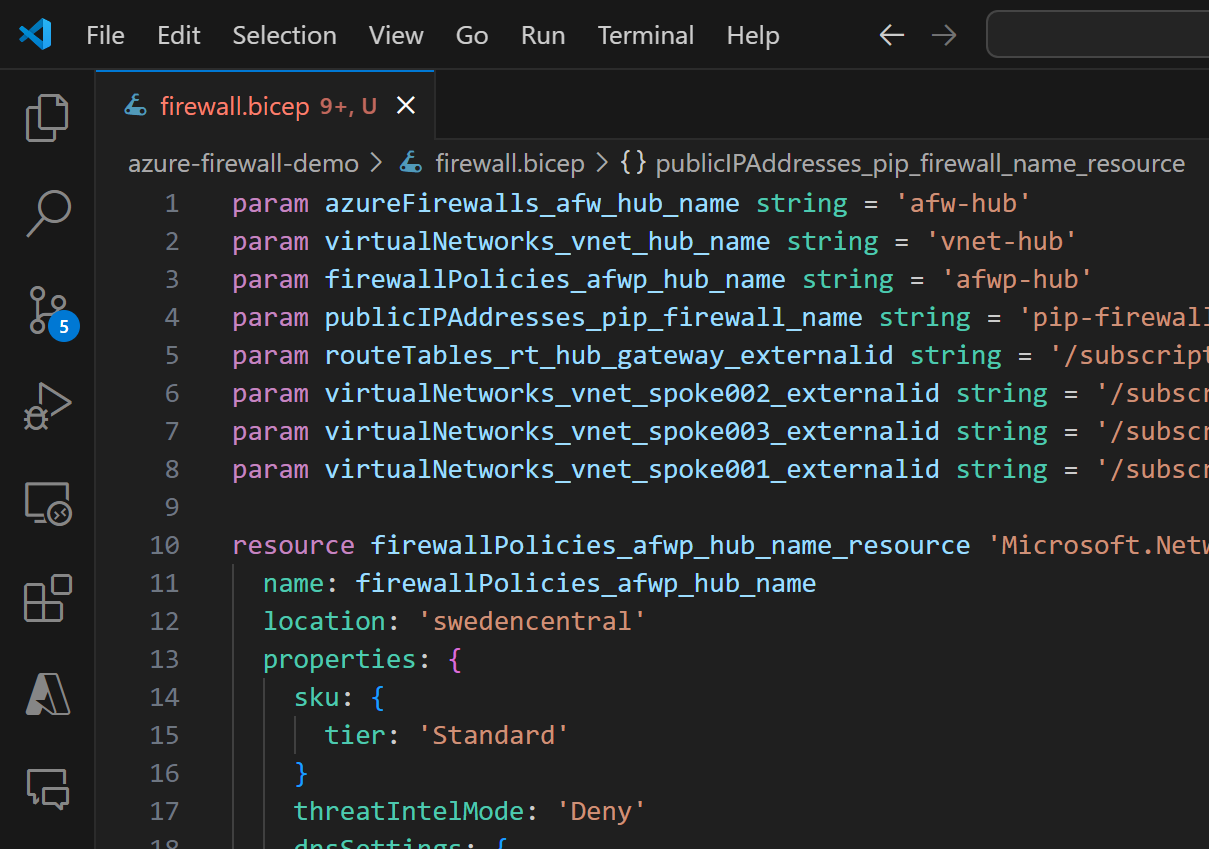
Now you can create e.g., firewall.bicep file and paste the content of the exported template to it
using Paste JSON as Bicep (might be quite close to the end of the context menu):
Next we’ll move the resources to the following order (to help the readability):
pip-firewall: Public IP address of the firewallvnet-hub: Virtual Networkafw-hub: Azure Firewallafwp-hub: Azure Firewall Policy
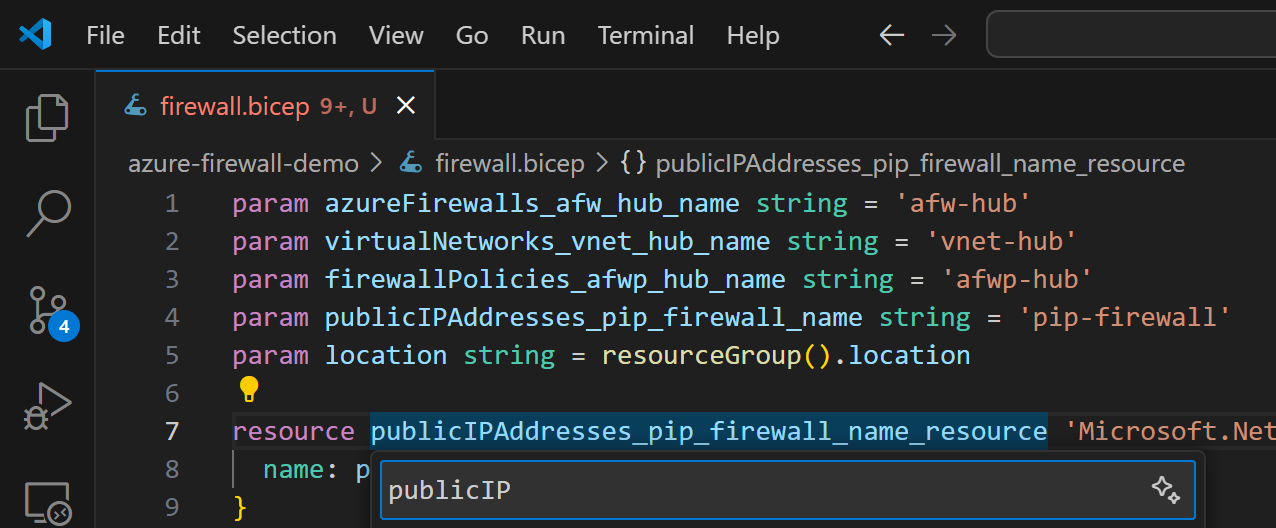
For renaming of the objects, you can use F2 key:
In this deployment template, we aren’t interested having public IP and virtual network, therefore we can convert them to existing resources
and remove the parameters and properties that we don’t need anymore.
This makes it easy to reference them in our firewall resource:
The above process should not take too long. Now you have a template you can try to test in development environment.
Again, I highly recommend using isolated environment for testing these kind of changes. You can use the demo environment I have provided in GitHub repository:
You can first deploy that environment and then remove Firewall and Firewall Policy from the resource group.
Now, we’re ready to deploy our test template:
$result = New-AzResourceGroupDeployment `
    -DeploymentName "Firewall-with-AZs" `
    -ResourceGroupName "rg-azure-firewall-demo" `
    -TemplateFile "firewall.bicep" `
    -Verbose
$result
Of course, you can now start to split the single file to smaller files e.g., per rule collection group or whatever makes sense for your deployment.
Diagnostic settings were not most likely part of your template, then check that separately (example code here):
After the successful deployment, you have to, obviously, validate that everything is working as expected and that you have not missed anything. But this gives you a good starting point for managing your Azure Firewall deployment with Infrastructure as Code.
Conclusion
If you have missed the Availability Zones setting during the deployment of Azure Firewall, it’s not the end of the world and it might be a good idea to migrate it to use Availability Zones. After all, it’s a critical service and you want to make sure it’s highly available and resilient to failures.
Luckily, it should be fairly easy and quick operation. But of course you need to plan and test it carefully and have maintenance window for this change.
I recommend you to use Infrastructure as Code, so if possible, use the time and effort to convert your deployment to Bicep templates.
I hope you find this useful!

 JanneMattila/azure-firewall-demo

