Managed identities, Application Permissions and Entra ID automations
Posted on: November 4, 2024I have previously blogged about various Azure and Entra ID automation topics e.g., Automating maintenance tasks with Azure Functions and PowerShell, Entra ID Group automation with PowerShell, and Automations with Azure Pipelines or GitHub Actions.
Typically, when you start working on these automations, you need to create a new app registration in Entra ID and assign it the necessary permissions based on your scenario. So, you end up into this Entra ID view:
Since we would be looking to do some kind of background processing, we would need to select the following permissions:
Application permissions
Your application runs as a background service or daemon without a signed-in user.
Let’s try to cover the following implementation scenario:
- Automation to create a new group in Entra ID
- Simple incoming data to define the group information and members
- The group will only have users as members
- Automation is implemented using PowerShell and Microsoft Graph API
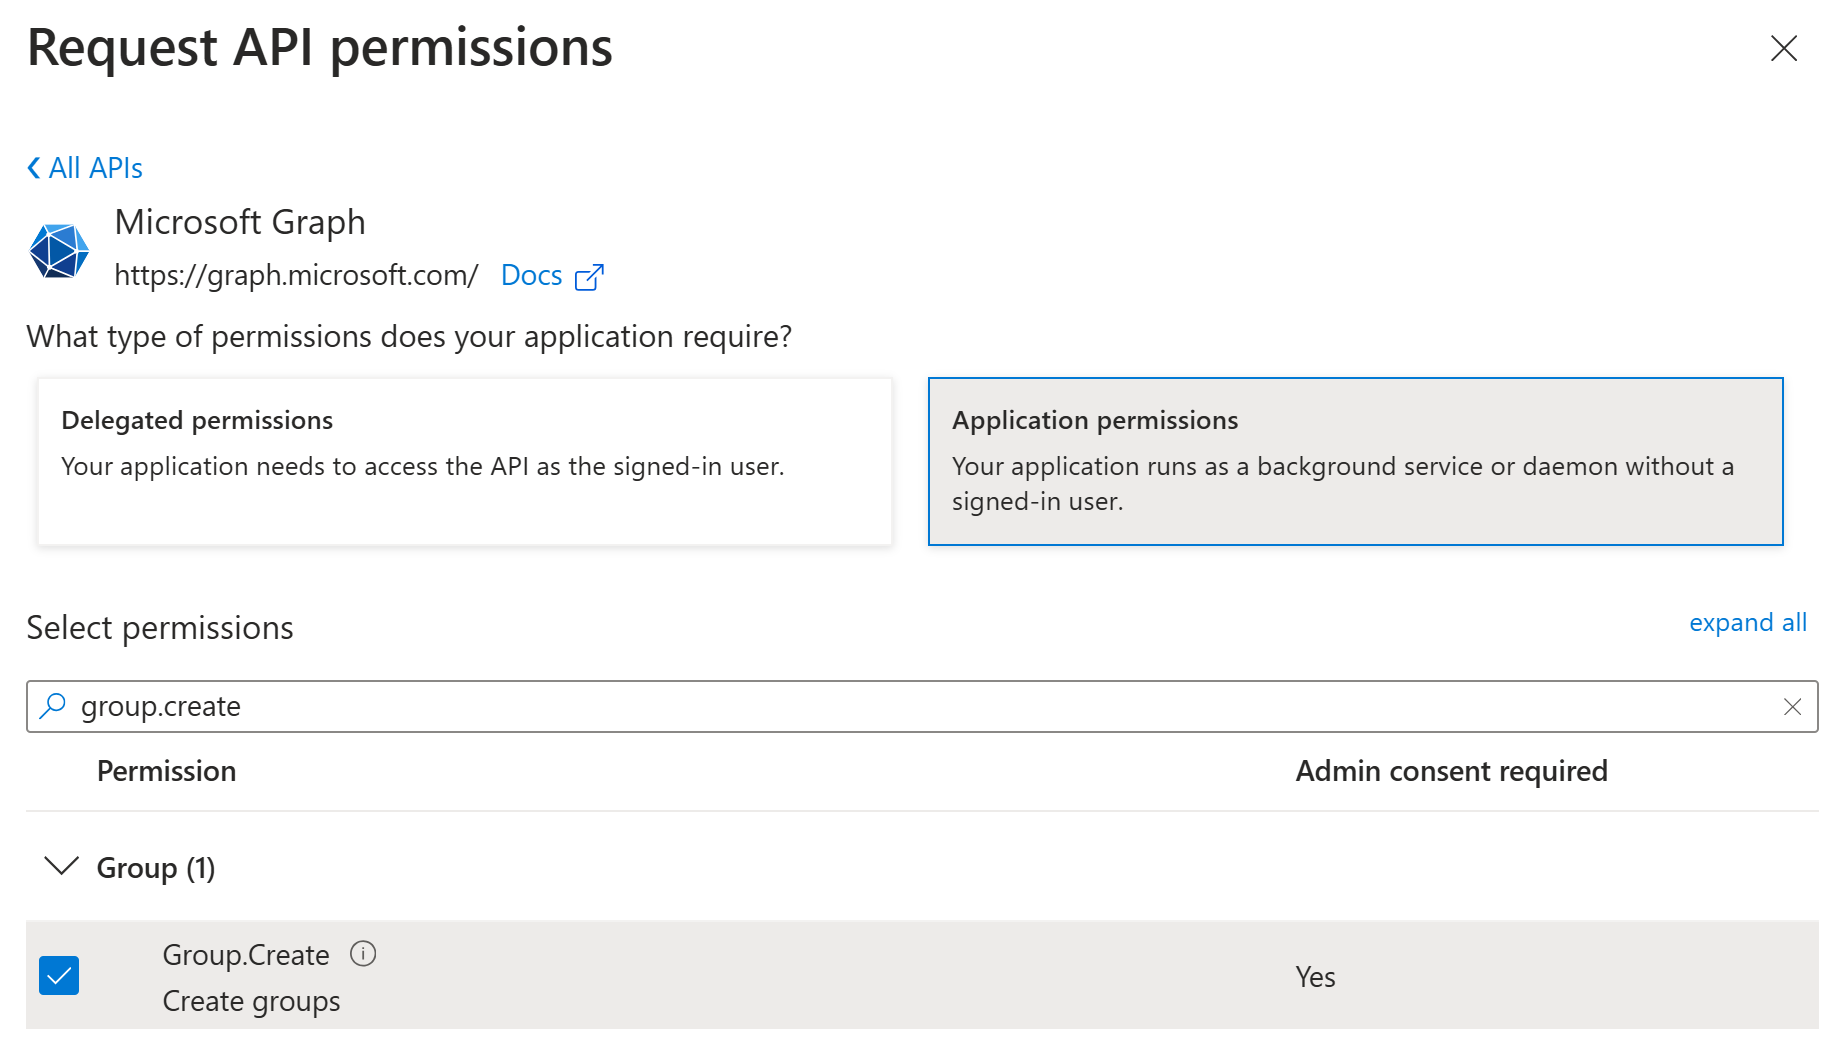
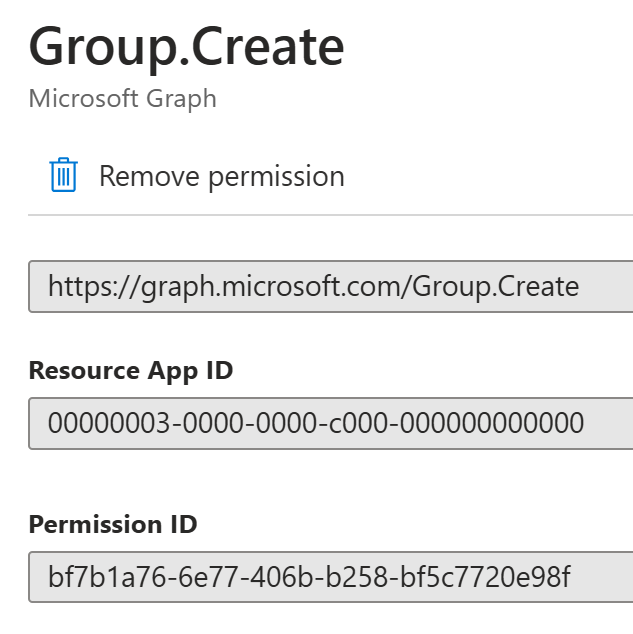
I would start by adding the necessary permissions to the app registration in Entra ID. First, I would need to add the following permission to be able to create a new group:
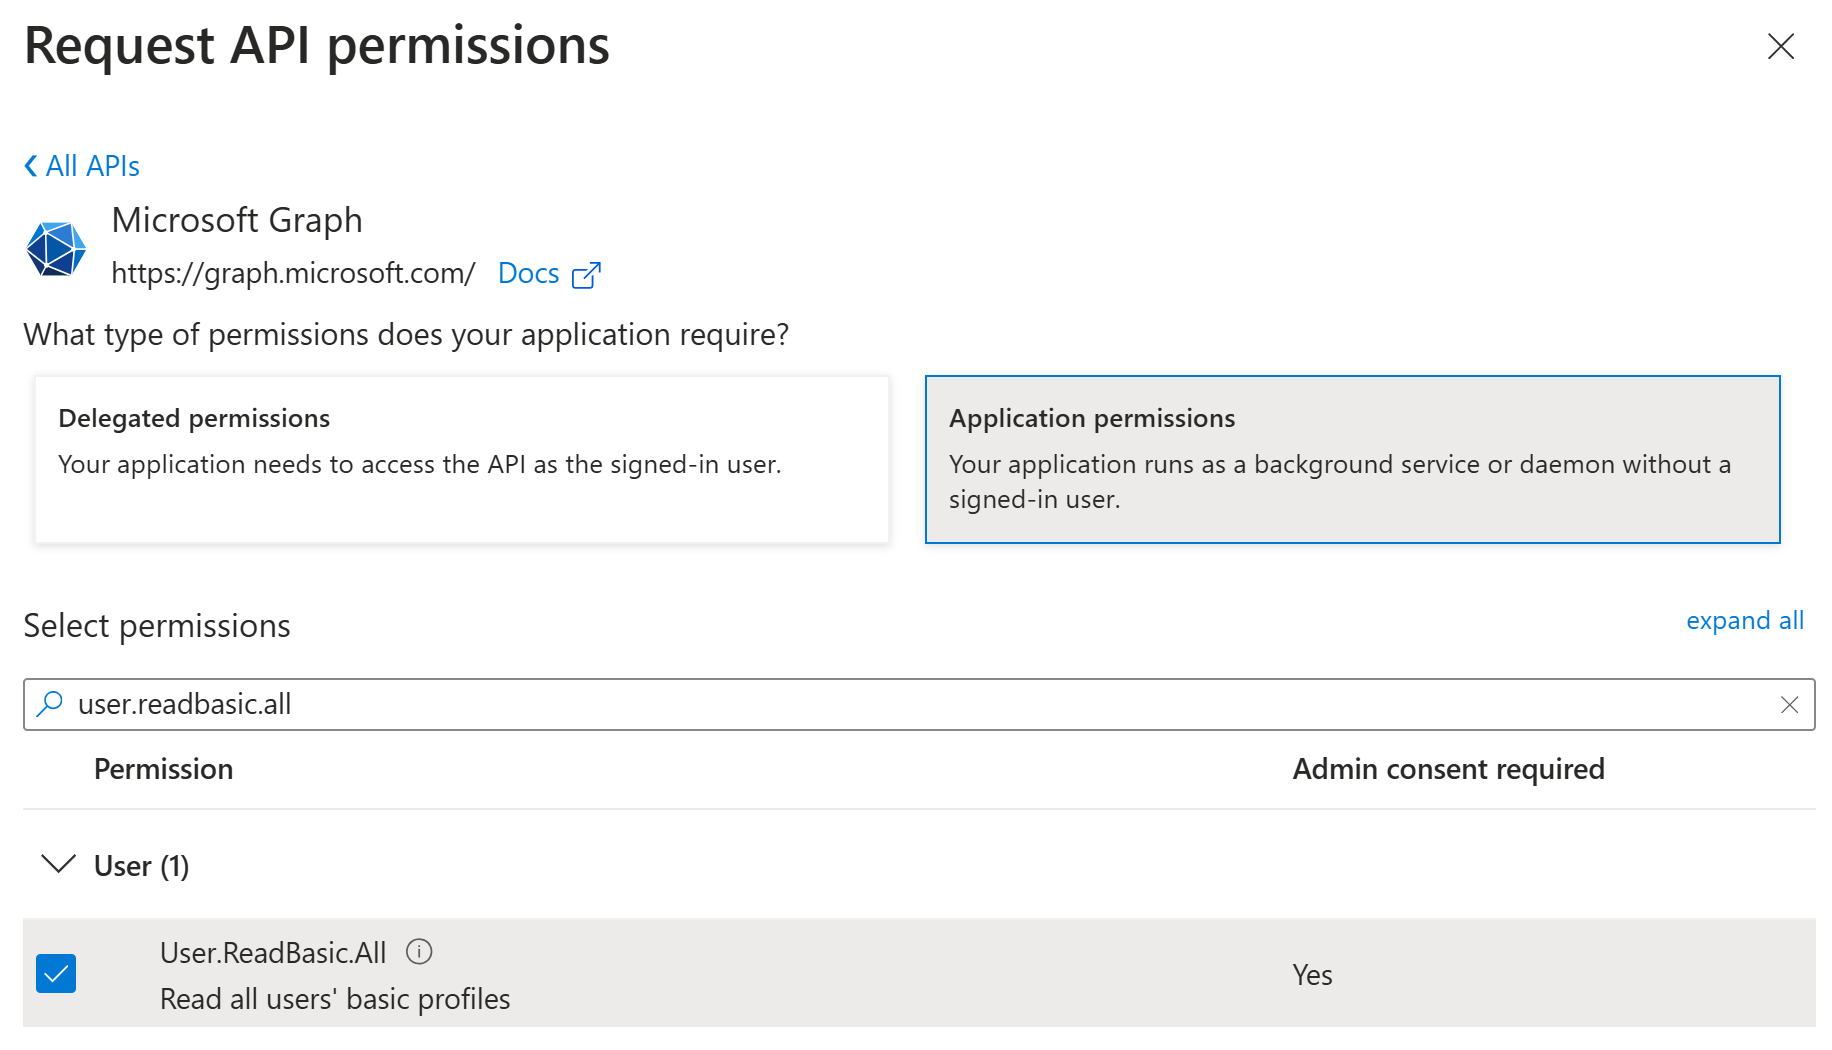
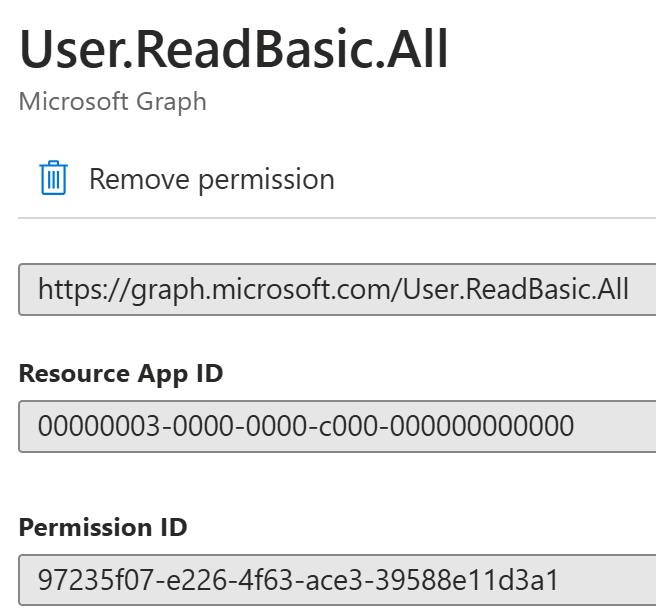
Second, I would need to add the following permission to be able to read the basic information of the users:
Here are the permissions that I’ve added:
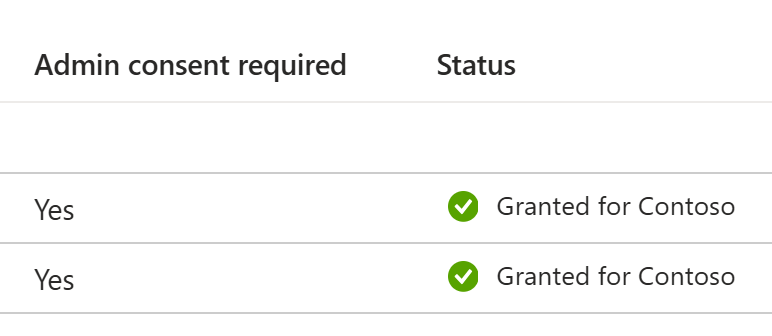
Since the above permissions are application permissions, they require admin consent:
Now, I can test my automation script to create a new group in Entra ID. I’ll Login with a service principal, I’ve created using the above configuration.
$clientId = "<put your client id here>"
$clientSecret = "<put your client secret here>"
$tenantId = "<put your tenant id here>"

$clientPassword = ConvertTo-SecureString $clientSecret -AsPlainText -Force
$credentials = New-Object System.Management.Automation.PSCredential($clientID, $clientPassword)
Connect-AzAccount -ServicePrincipal -Credential $credentials -TenantId $tenantId
After the login, I can execute my script to create a new group in Entra ID. Here is an abbreviated and simplified version of the script but you can find the link to the full script at the end of the post:
$groupJson = @{
  displayName         = $GroupName
  description         = $GroupDescription
  mailEnabled         = $false
  mailNickname        = $GroupMailNickName
  securityEnabled     = $true
  groupTypes          = @()
  "owners@odata.bind" = [string[]]"https://graph.microsoft.com/v1.0/servicePrincipals(appId='$($ClientId)')"
} | ConvertTo-Json

$groupResponse = Invoke-AzRestMethod `
  -Uri "https://graph.microsoft.com/v1.0/groups" `
  -Method Post -Payload $groupJson
$group = $groupResponse.Content | ConvertFrom-Json

$memberIds | ForEach-Object {
  $id = $_
  $bodyJson = @{
    "@odata.id" = "https://graph.microsoft.com/v1.0/directoryObjects/$id"
  } | ConvertTo-Json

  Invoke-AzRestMethod `
    -Uri "https://graph.microsoft.com/v1.0/groups/$($group.id)/members/`$ref" `
    -Method POST -Payload $bodyJson
}
Notice that we’re using members@odata.bind to add owner to the group during the
create operation:
Creating a group using the
Group.Createapplication permission without specifying owners creates the group anonymously and the group isn’t modifiable. Add owners to the group while creating it so the owners can manage the group.
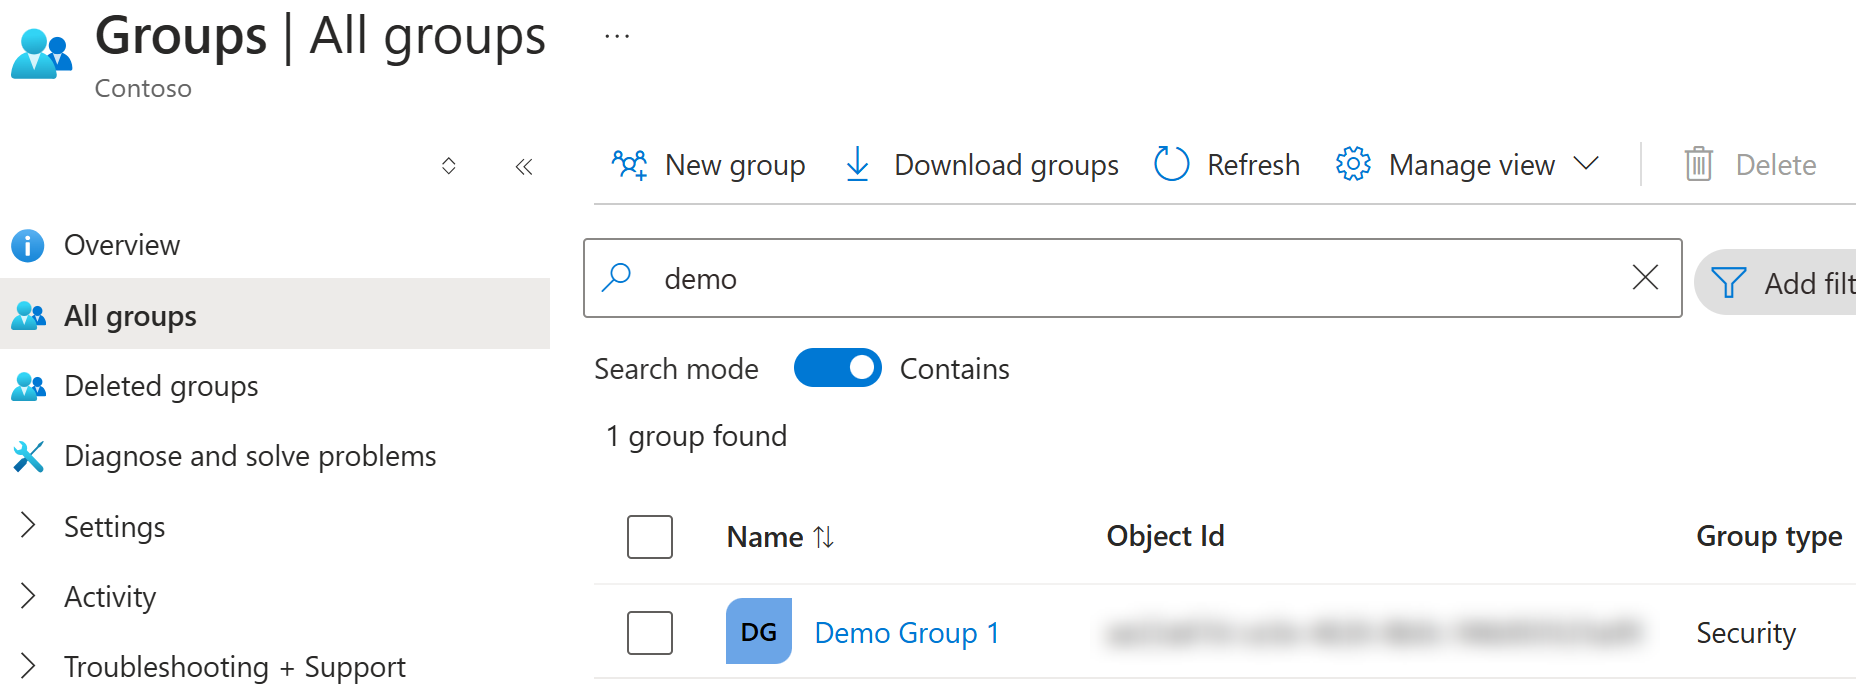
The above approach works fine, and a new group gets created as expected:
However, using service principal requires you to use client secrets, certificates or federated credentials for the authentication. You must maintain and store these secrets securely.
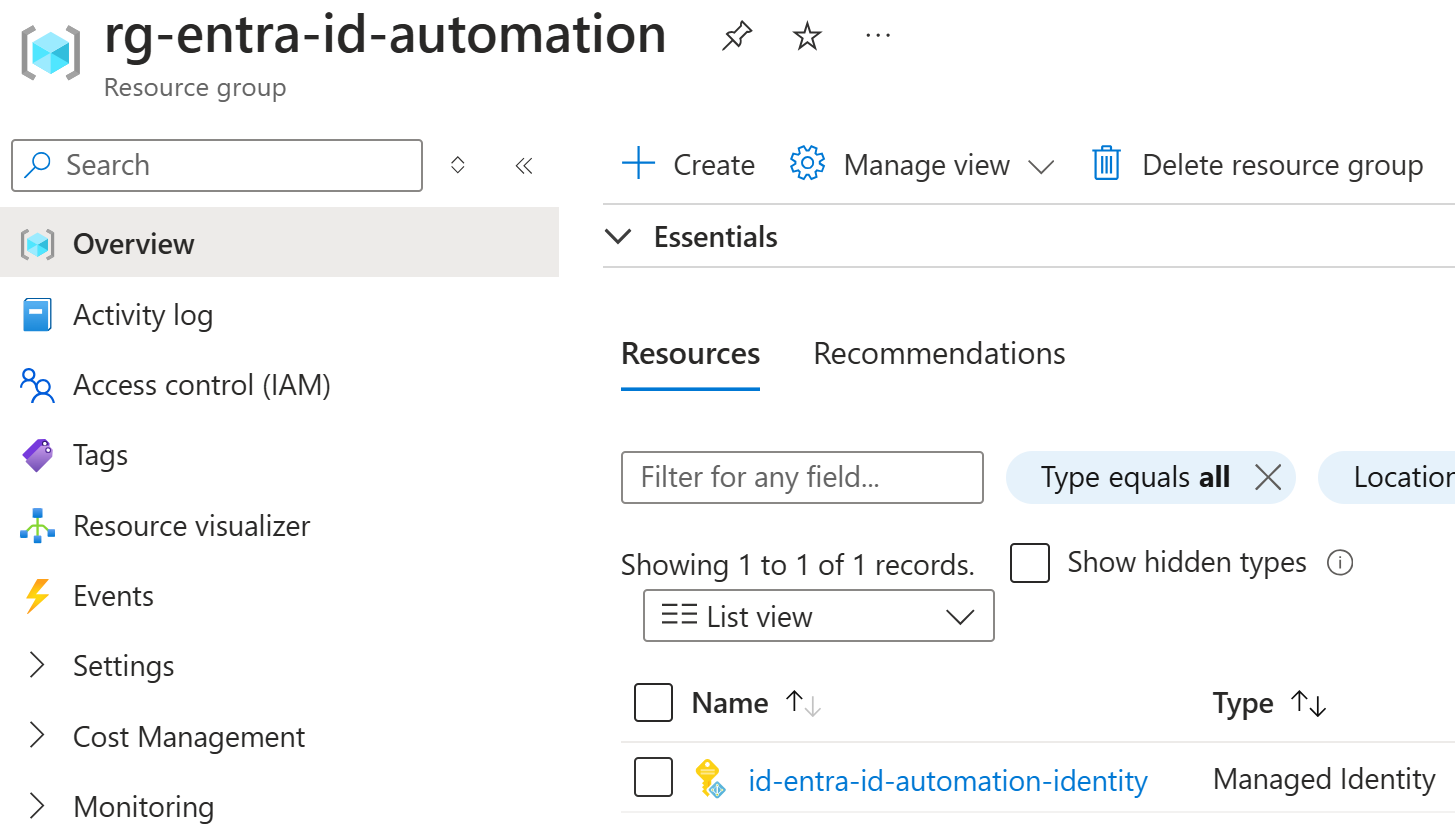
Therefore, we’ll investigate achieving the same using managed identity. Let’s start by creating a new user assigned-identity:
$identityName = "id-entra-id-automation-identity"
$resourceGroupName = "rg-entra-id-automation"
$location = "swedencentral"

# Create a new resource group
New-AzResourceGroup `
  -Name $resourceGroupName `
  -Location $location

# Create a new managed identity
$identity = New-AzUserAssignedIdentity `
  -ResourceGroupName $resourceGroupName `
  -Location $location `
  -Name $identityName
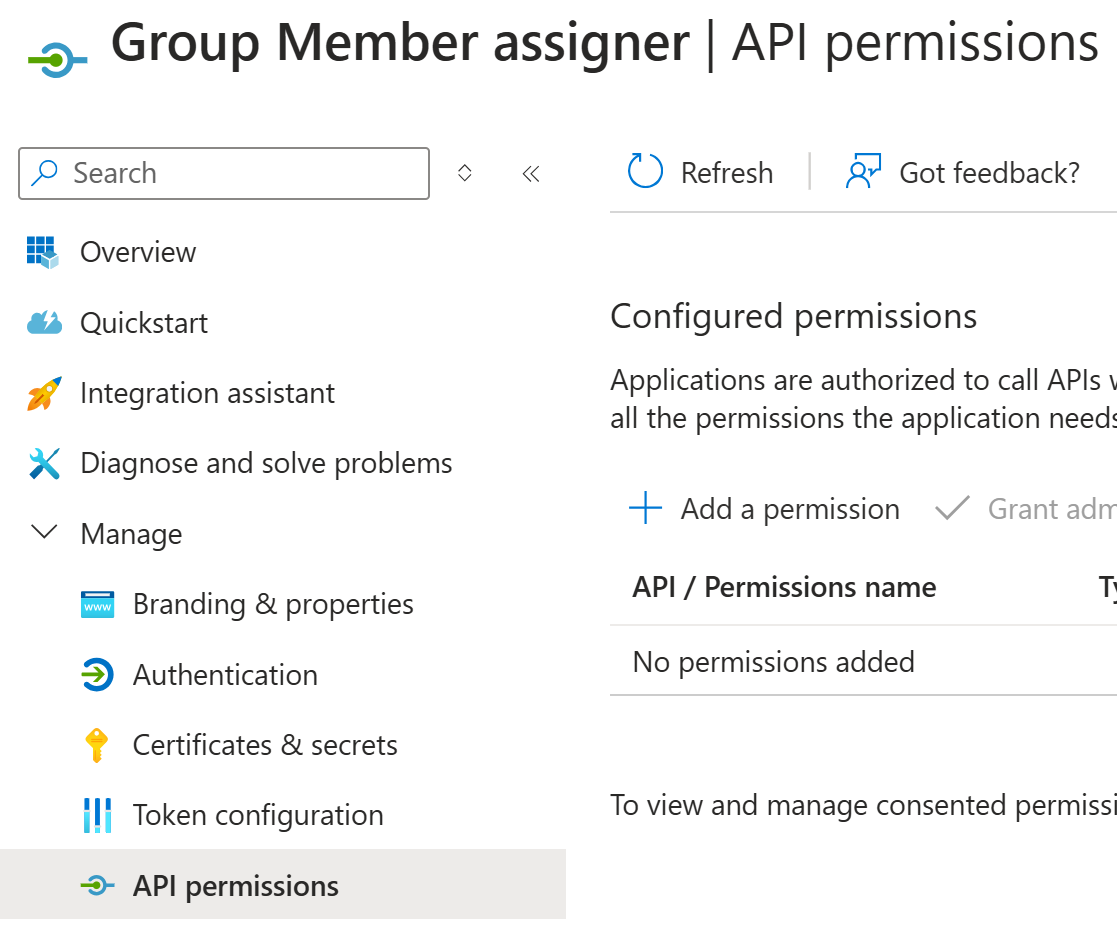
Unfortunately, we don’t have API Permissions in the managed identity view. Therefore, we need to assign the necessary permissions using the APIs.
If we quickly still get back to the previous configuration of our service principal, we can see the permission names:
Permissions to our managed identity can be granted using
New-AzADServicePrincipalAppRoleAssignment cmdlet:
$microsoftGraphApp = Get-AzADServicePrincipal -ApplicationId "00000003-0000-0000-c000-000000000000"
$graphPermissions = $microsoftGraphApp | Select-Object -ExpandProperty AppRole

New-AzADServicePrincipalAppRoleAssignment `
  -ServicePrincipalId $identity.PrincipalId `
  -ResourceId $microsoftGraphApp.Id `
  -AppRoleId ($graphPermissions `
  | Where-Object { $_.Value -eq "Group.Create" } `
  | Select-Object -ExpandProperty Id)
Or alternatively, you can use Graph Rest API directly:
$appRoleJson = [ordered]@{
  principalId = $identity.PrincipalId
  resourceId  = $microsoftGraphApp.Id
  appRoleId   = ($graphPermissions `
    | Where-Object { $_.Value -eq "Group.Create" } `
    | Select-Object -ExpandProperty Id)
} | ConvertTo-Json

$response = Invoke-AzRestMethod `
  -Method Post `
  -Uri "https://graph.microsoft.com/v1.0/servicePrincipals/$($microsoftGraphApp.Id)/appRoleAssignedTo" `
  -Payload $appRoleJson
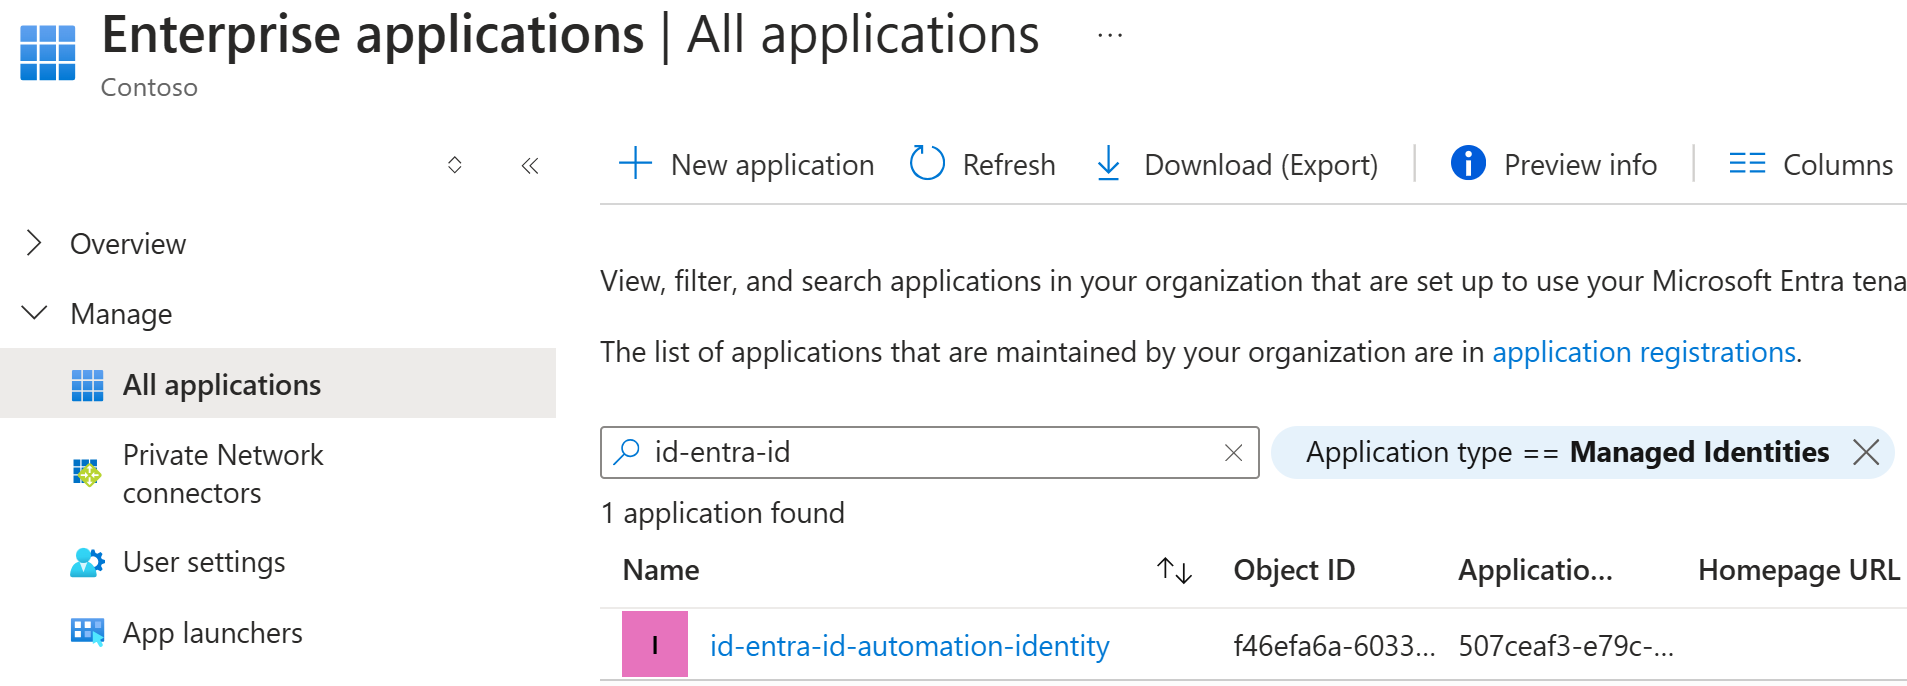
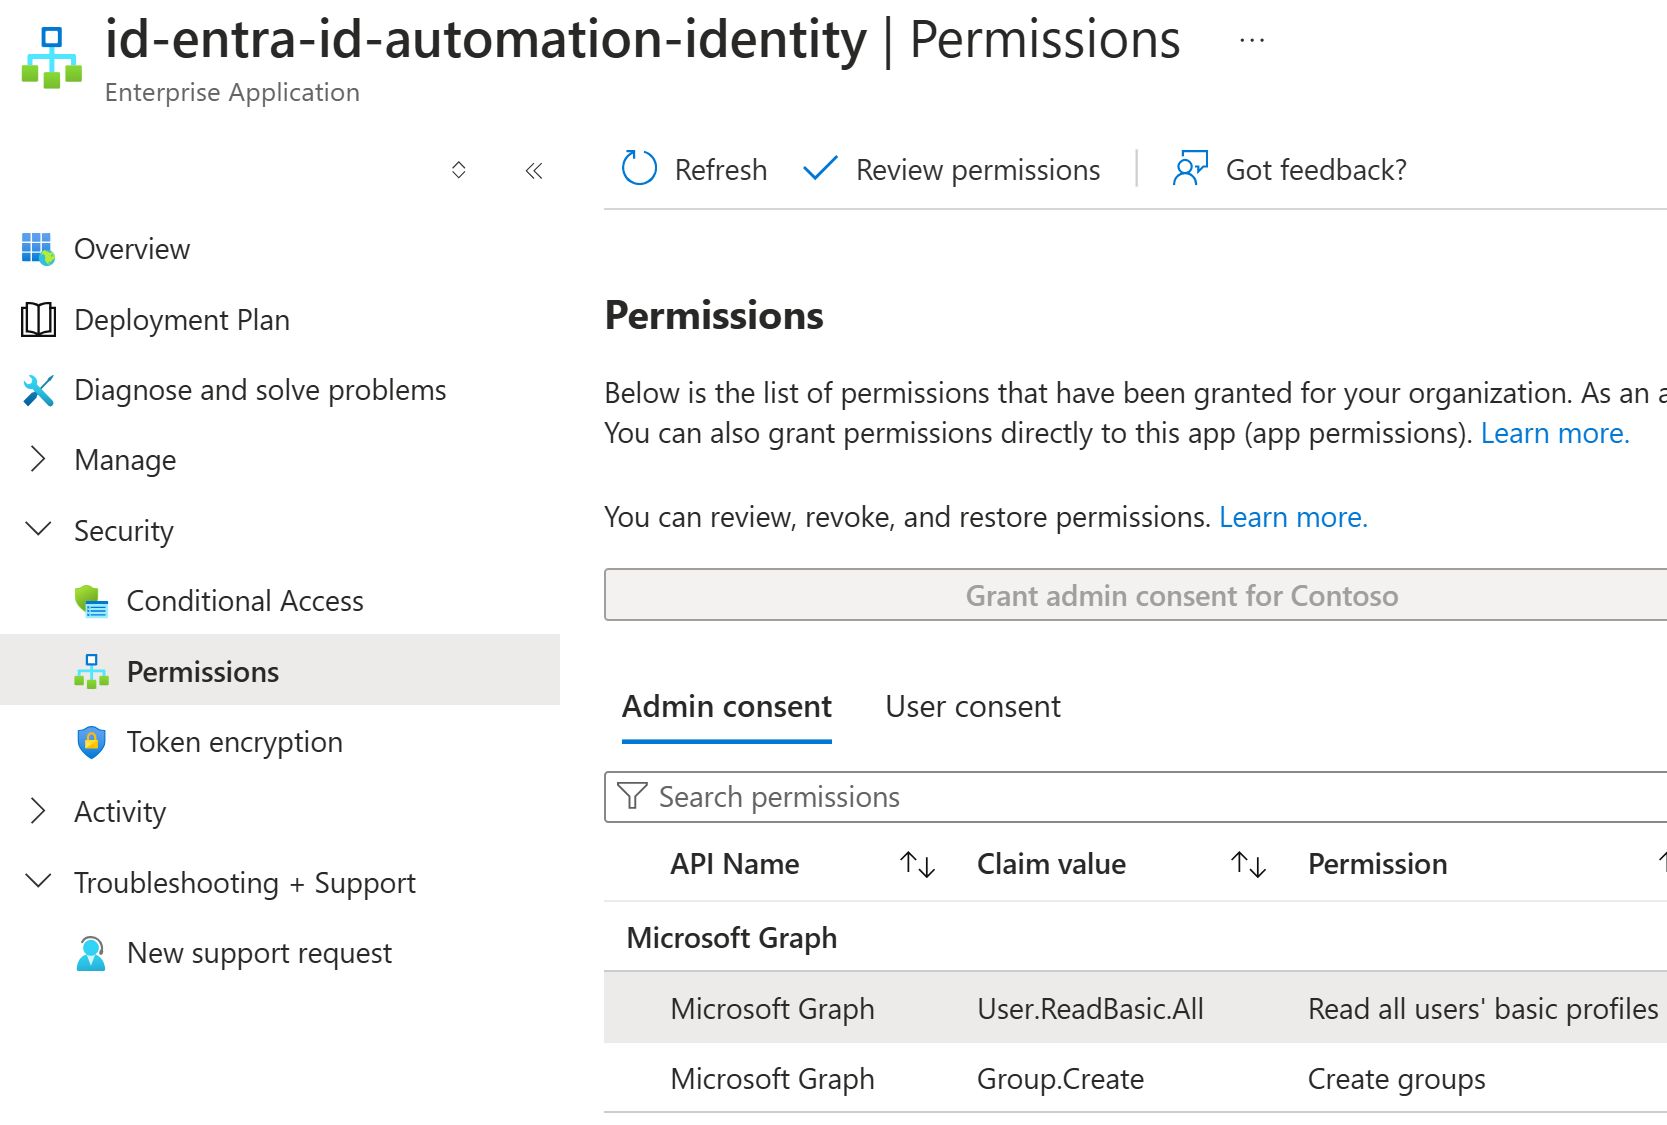
After the Group.Create and User.ReadBasic.All permissions are granted, you can see these permissions under Enterprise apps:
Now, we’re ready to use the configured managed identity in e.g., Virtual Machine (or any other service that supports it):
In Azure PowerShell, you can replace the above service principal login with the managed identity and rest of the script remains the same:
Connect-AzAccount -Identity
If you just want to use bash script, you can use the following approach
based on this
tutorial:
# Get the identity information including token
curl -s \
 'http://169.254.169.254/metadata/identity/oauth2/token?api-version=2018-02-01&resource=https://graph.microsoft.com/' \
 -H 'Metadata: true' > identity.json

# Create a new group
curl -s -X POST 'https://graph.microsoft.com/v1.0/groups' \
  -H "Authorization: Bearer $(cat identity.json | jq -r .access_token)" \
  -H "Content-Type: application/json" \
  -d '{
  "displayName": "Example Group",
  "description": "Example Group Description",
  "mailEnabled": false,
  "mailNickname": "examplegroup",
  "securityEnabled": true,
  "groupTypes": [],
  "owners@odata.bind": [
    "https://graph.microsoft.com/v1.0/servicePrincipals(appId='\'$(cat identity.json | jq -r .client_id)\'')"
  ]
}' | jq -r .id > id.txt

# Add member to the group
curl -X POST "https://graph.microsoft.com/v1.0/groups/$(cat id.txt)/members/\$ref" \
  -H "Authorization: Bearer $(cat identity.json | jq -r .access_token)" \
  -H "Content-Type: application/json" -d '{
    "@odata.id": "https://graph.microsoft.com/v1.0/directoryObjects/cdbc71fd-0e73-48f0-b14c-f5216c4fb440"
}'
If you grab the access token from the above, you can see the roles claims
with the help of
jwt.ms:
It would be nice to use Azure PowerShell cmdlets in this limited permissions scenario, but unfortunately, the New-AzADGroup doesn’t support adding owners during the creation.
Another very similar scenario is automating group memberships which is typically combined with the requirement to scope this to only specific groups.
Typical requirements are:
- We have 1000s of groups in Entra ID
- We have a list of groups that we want to manage via this specific automation e.g., 25
- Permissions should be limited to only these 25 groups
Here’s how you can achieve this:
1) Create a new app registration in Entra ID or use managed identity as shown above
- Start without any permissions
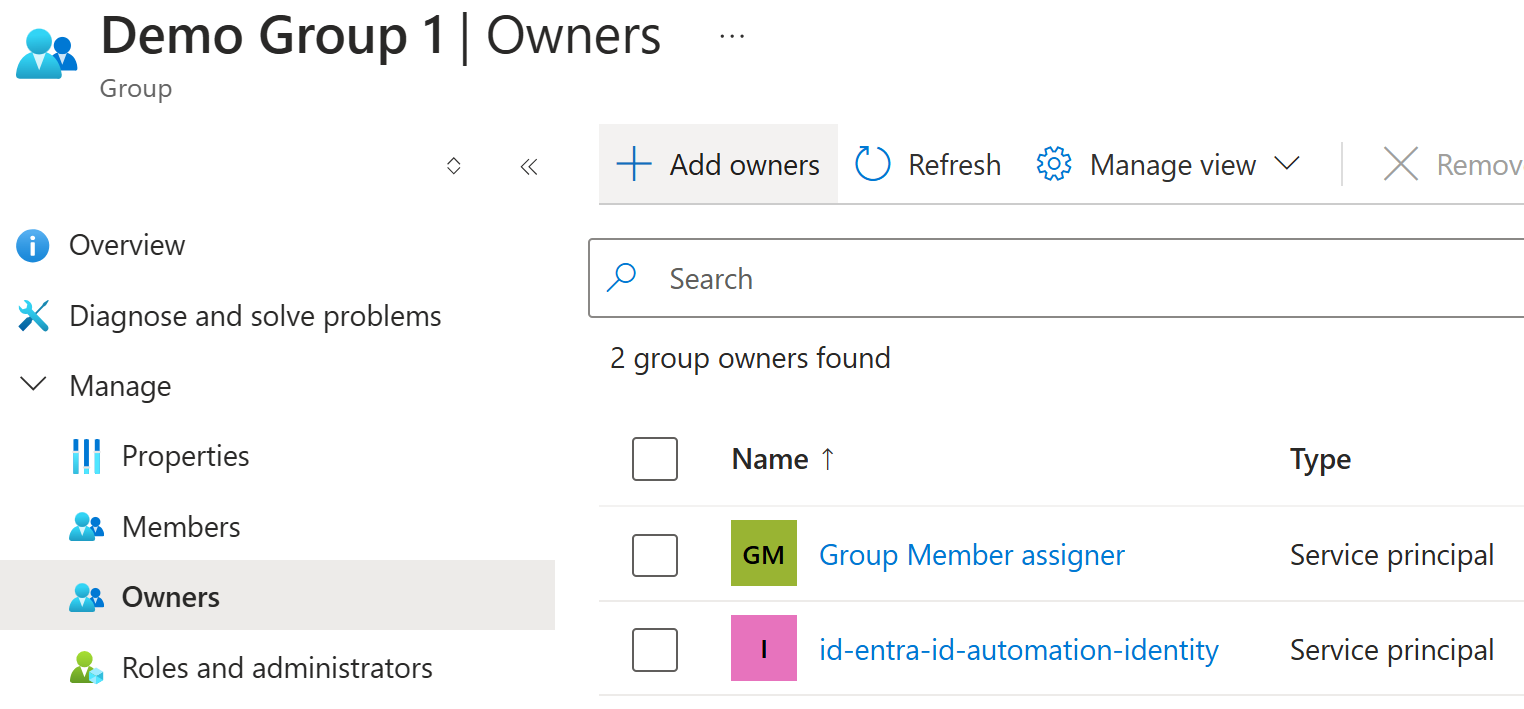
2) Add this identity as owner to the groups that you want to manage:
Now you can add the members directly to those groups even if you don’t have any permissions:
# Add member
$bodyJson = @{
    "@odata.id" = "https://graph.microsoft.com/v1.0/directoryObjects/cdbc71fd-0e73-48f0-b14c-f5216c4fb440"
} | ConvertTo-Json

Invoke-AzRestMethod `
    -Uri "https://graph.microsoft.com/v1.0/groups/ae22a67d-ce3e-4626-8b0c-94b003525a09/members/`$ref" `
    -Method POST -Payload $bodyJson
As in the above first example, you will have to add additional permissions if you need to look up e.g., users.
Typical permissions for this case is the same as the one used above: User.ReadBasic.All.
In this scenario, our identity is limited managing only these 25 groups and it cannot manage any other groups.
Conclusion
In this post, we’ve looked into how to use managed identity and application permissions to automate Entra ID operations. We’ve also saw how to limit the permissions to only specific groups.
You can find the full scripts from the following links:
I hope you find this useful!




 entra-create-groups.ps1