Automations with Azure Pipelines or GitHub Actions
Posted on: May 27, 2024I have been previously blogging about various automation topics such as:
Automating maintenance tasks with Azure Functions and PowerShell
Automation PowerShell tasks with Container App Jobs
The above examples are using various Azure services for the automations.
However, many times even simpler approach can do the job. I’m all about choosing the right tool for the job.
In this post, I will show you how to automate tasks with Azure Pipelines or GitHub Actions.
Both services are great for automating tasks, and they are very easy to use. They are feature rich and you can run them in managed agents or self-hosted agents.
Scenario:
- You have a PowerShell script
run.ps1you need to run on a schedule two times a day - Use Workload identity for managing the authentication
Workload Identity
Before we start implementing Azure Pipelines or GitHub Actions, we need to prepare the setup for the Workload Identity.
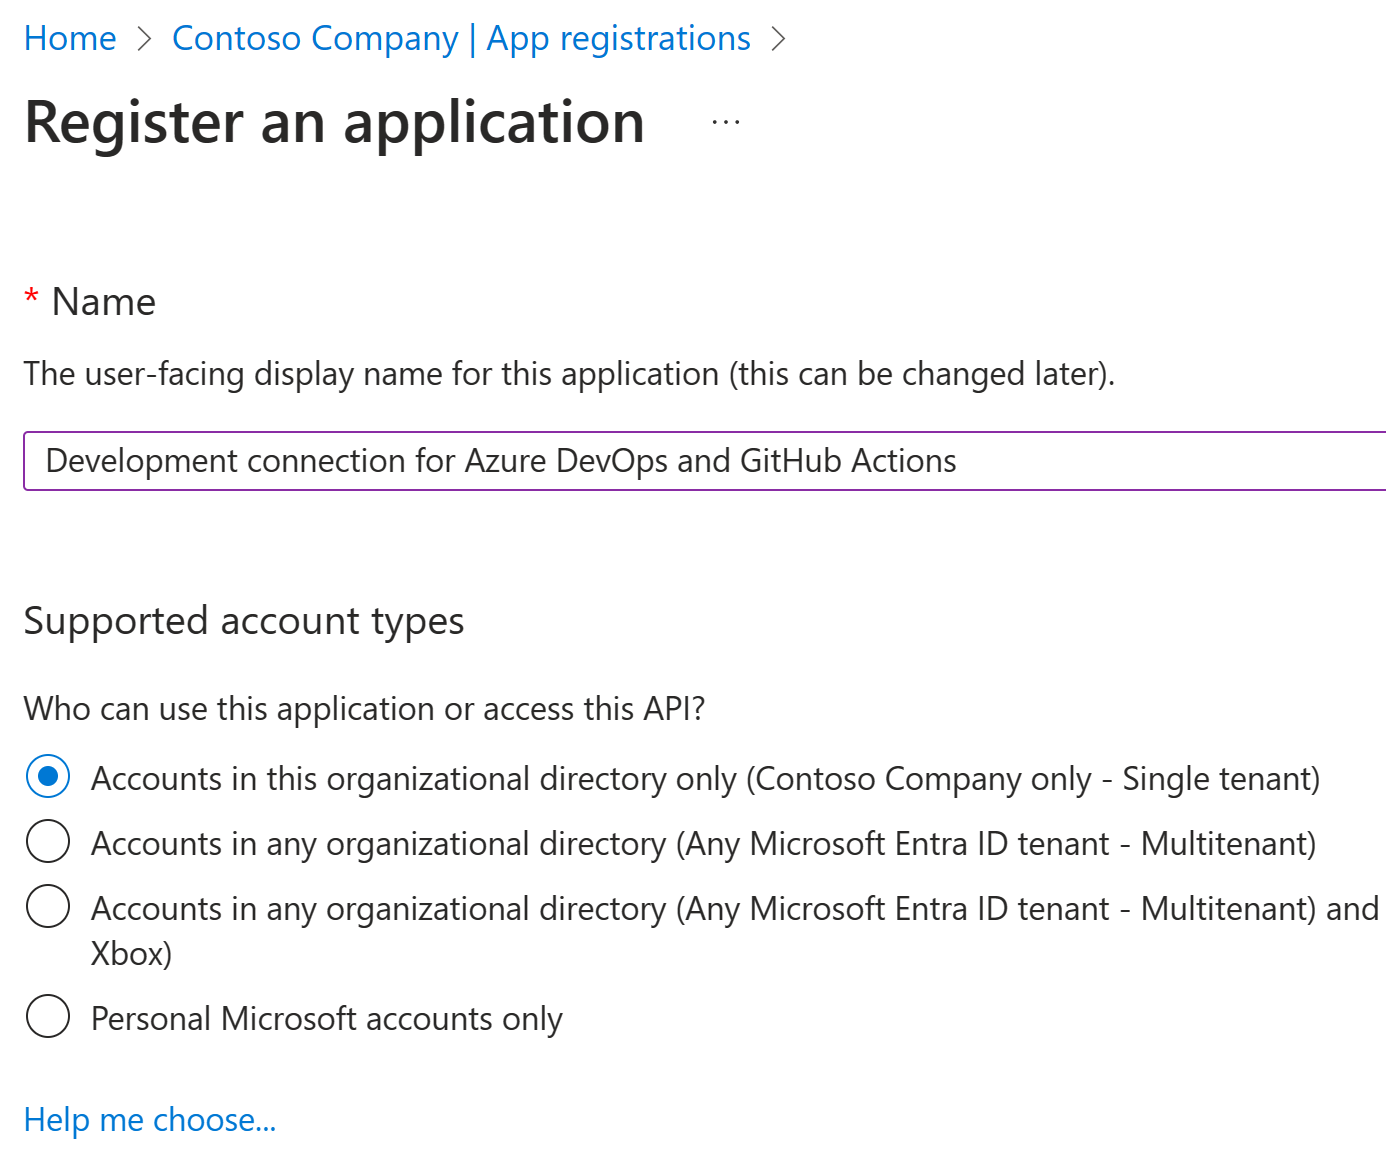
First, let’s register an application to Entra ID:
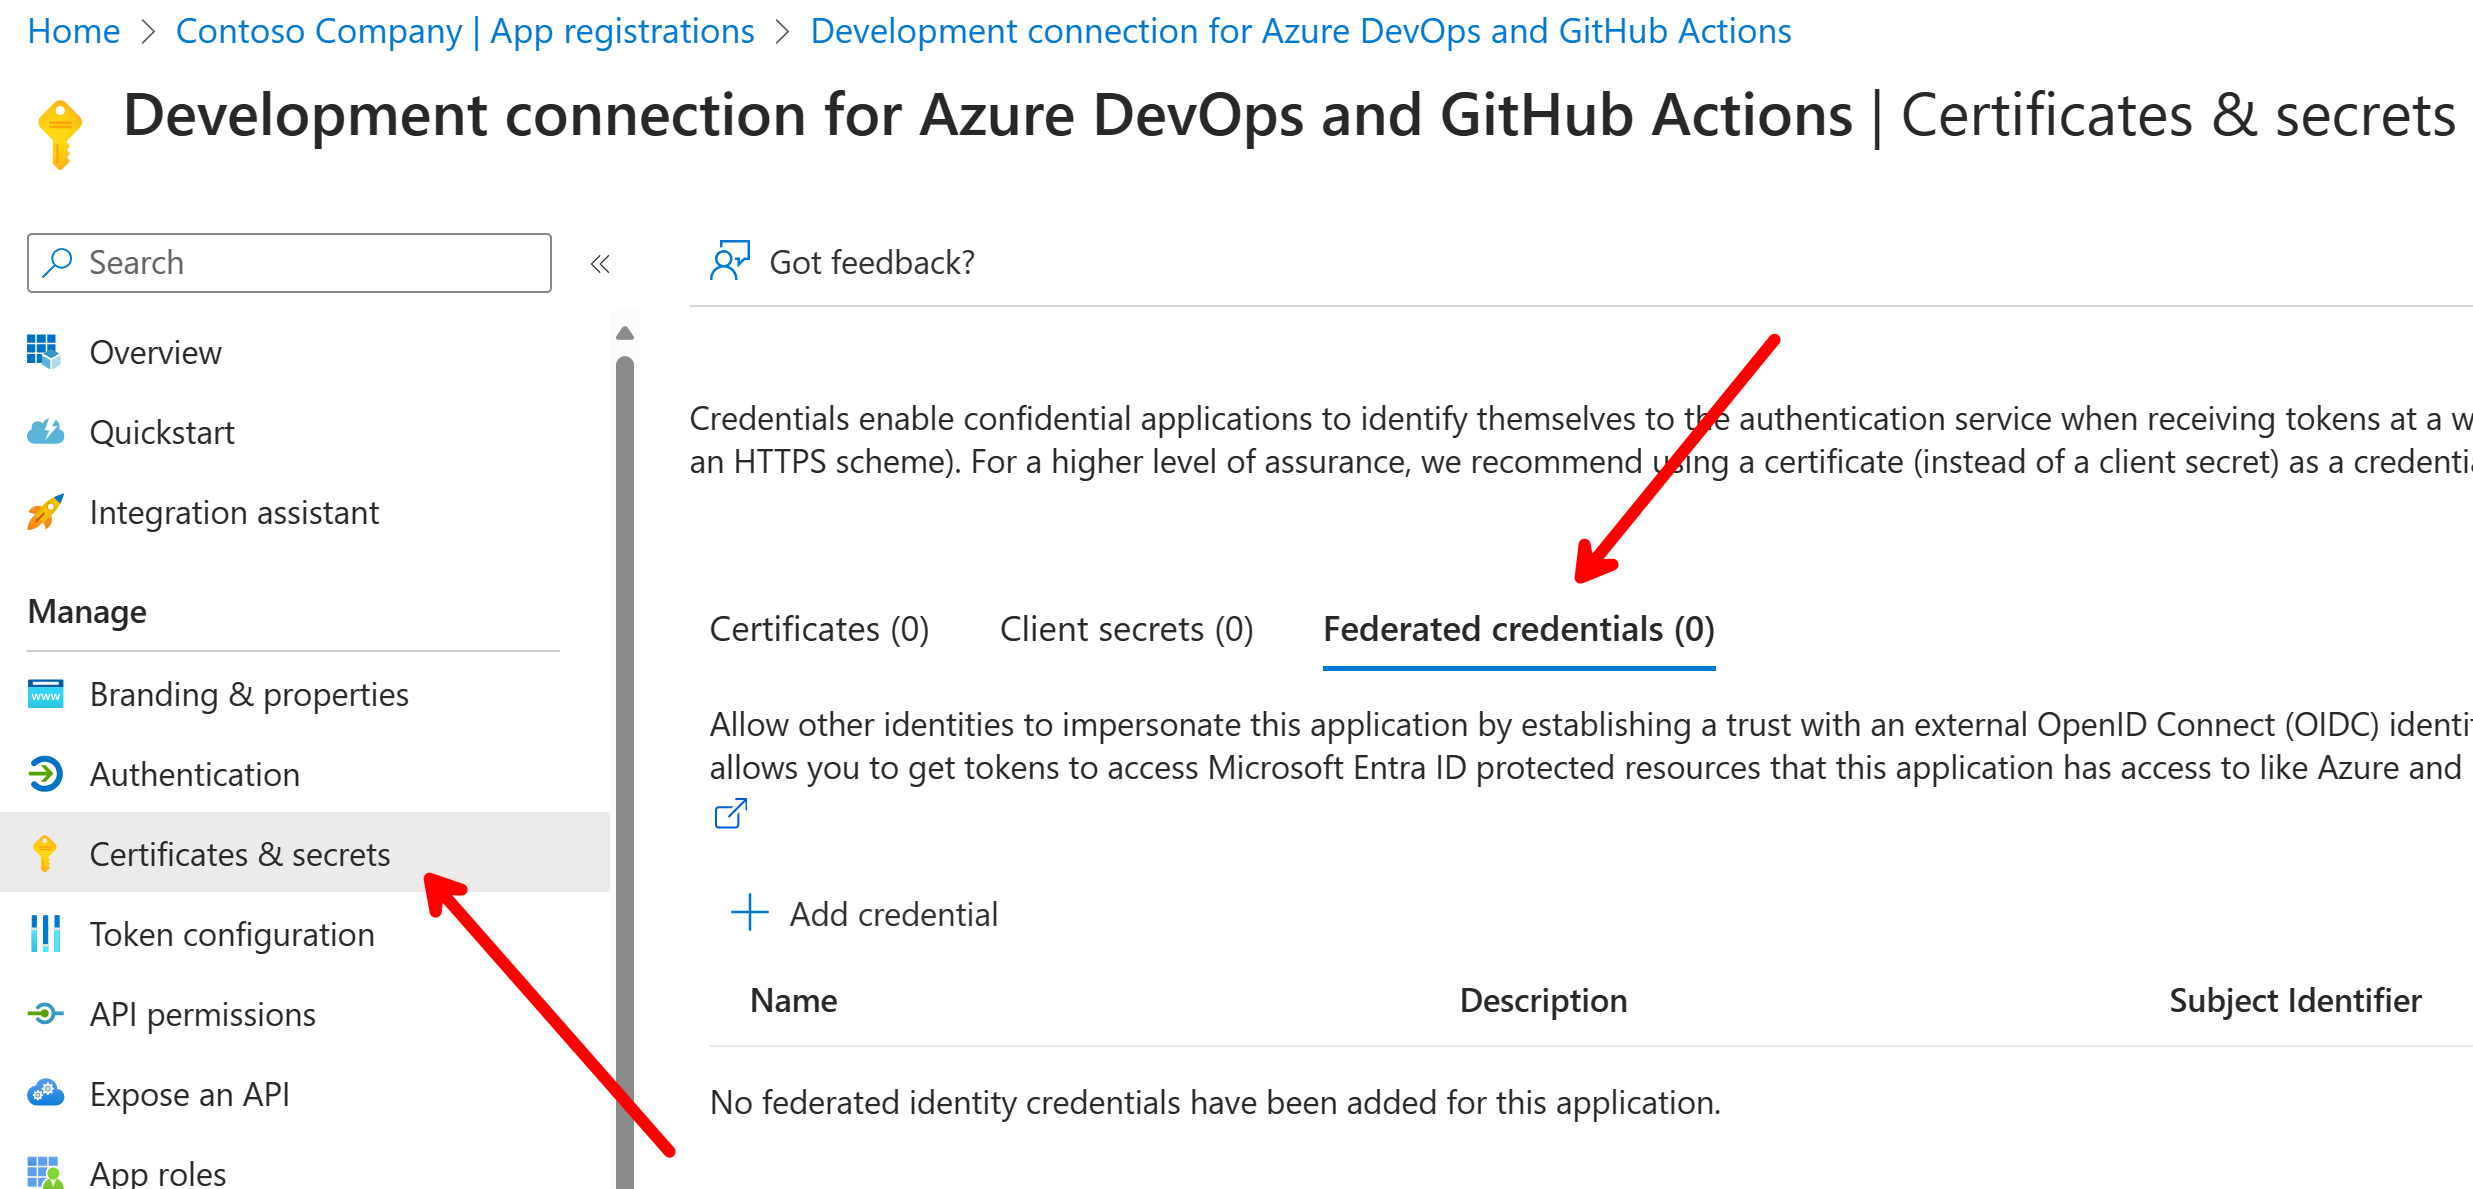
We need to add Federated credentials for our app registration so that it matches the issuer and subject identifier of the Azure Pipelines or GitHub Actions identity. This is important for the authentication to work. We’ll get back to this later:
Now, we’re ready to go for the automation implementations.
Note: If you’re new to Workload Identity, I recommend reading the following blog post: Arc-enabled Kubernetes and Microsoft Entra Workload ID
PowerShell script
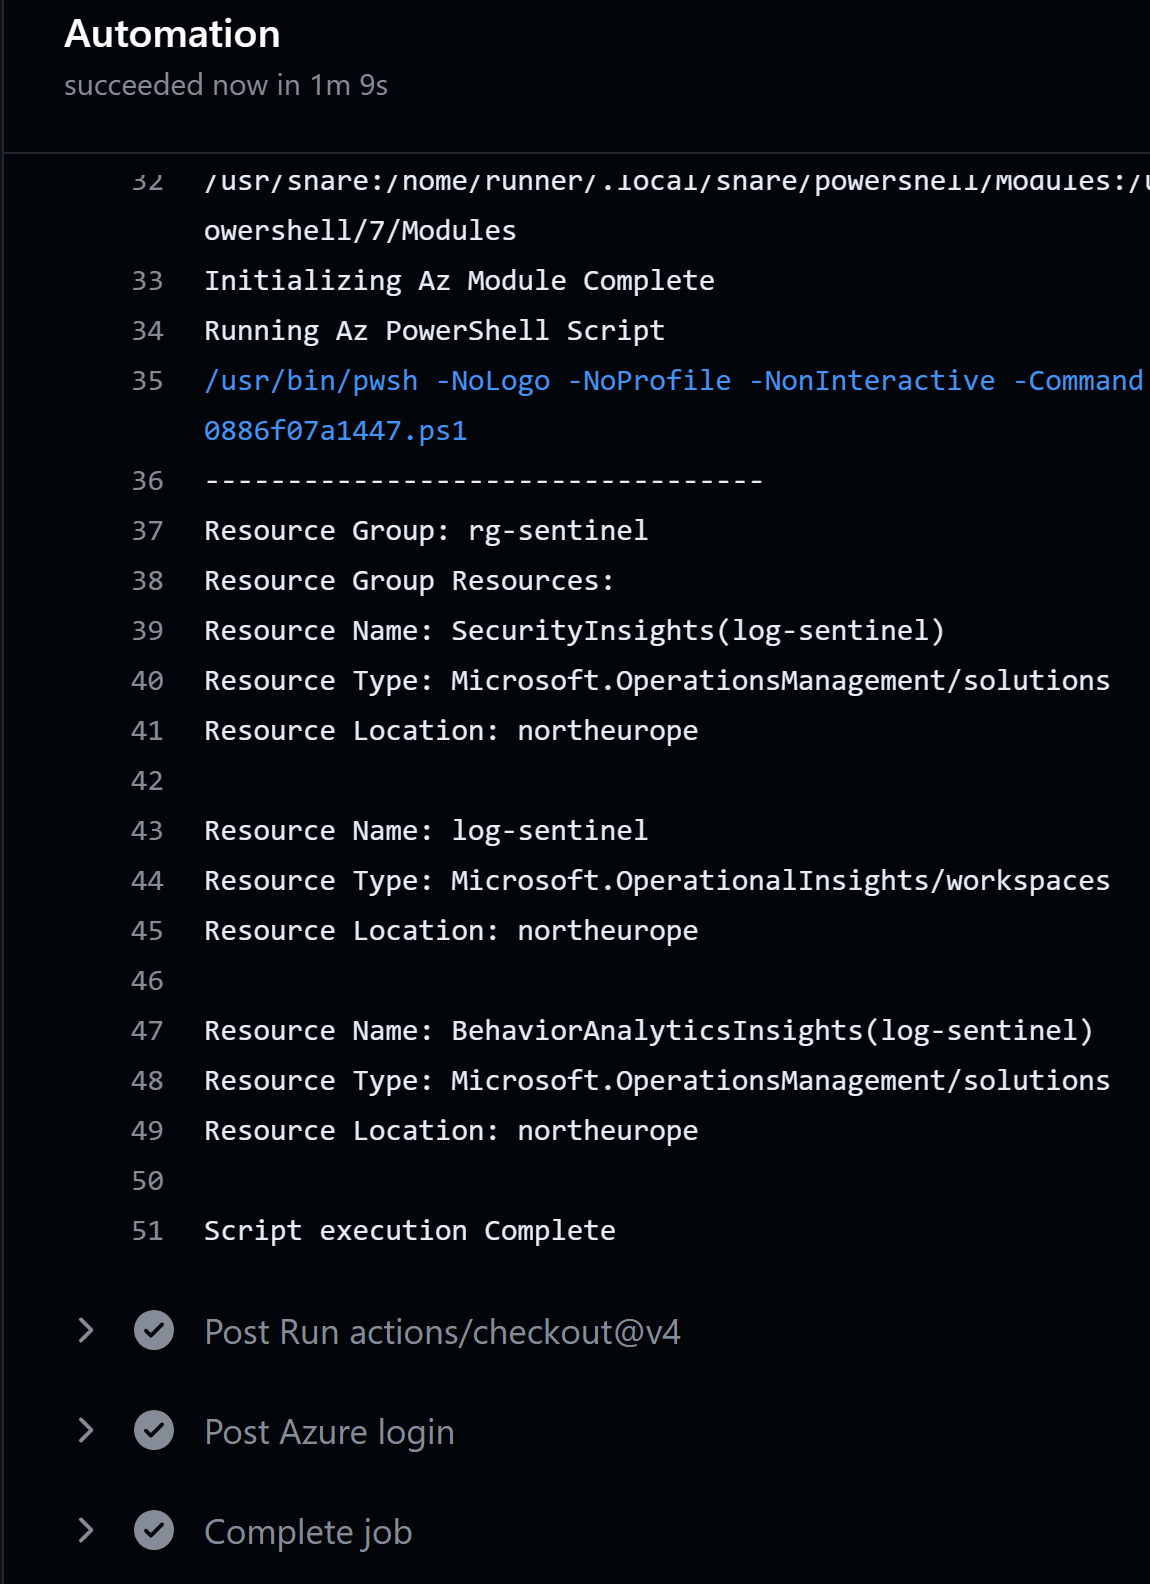
Here’s a simple PowerShell script that we want to run on a schedule:
$resourceGroups = Get-AzResourceGroup

for ($i = 0; $i -lt $resourceGroups.Count; $i++) {
    $resourceGroup = $resourceGroups[$i]
    if ($null -eq $resourceGroup.tags) {
        continue
    }

    $listResourceGroup = $resourceGroup.tags.ContainsKey("list") ? $resourceGroup.tags["list"] : "false"

    if ([boolean]::Parse($listResourceGroup) -eq $true) {
        $resourceGroupName = $resourceGroup.ResourceGroupName
        $resourceGroupResources = Get-AzResource -ResourceGroupName $resourceGroupName

        Write-Host "----------------------------------"
        Write-Host "Resource Group: $resourceGroupName"
        Write-Host "Resource Group Resources:"
        for ($j = 0; $j -lt $resourceGroupResources.Count; $j++) {
            $resource = $resourceGroupResources[$j]
            $resourceName = $resource.Name
            $resourceType = $resource.Type
            $resourceLocation = $resource.Location

            Write-Host "Resource Name: $resourceName"
            Write-Host "Resource Type: $resourceType"
            Write-Host "Resource Location: $resourceLocation"
            Write-Host ""
        }
    }
}
This script lists all the resources in the resource groups that have a tag list set to true.
To run that script two times a day, you can use following Cron expression:
0 */12 * * *
Azure Pipelines
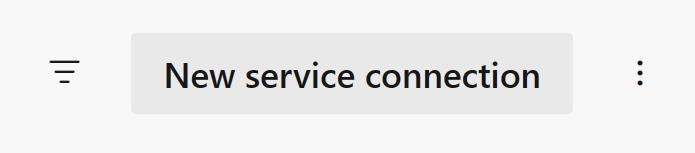
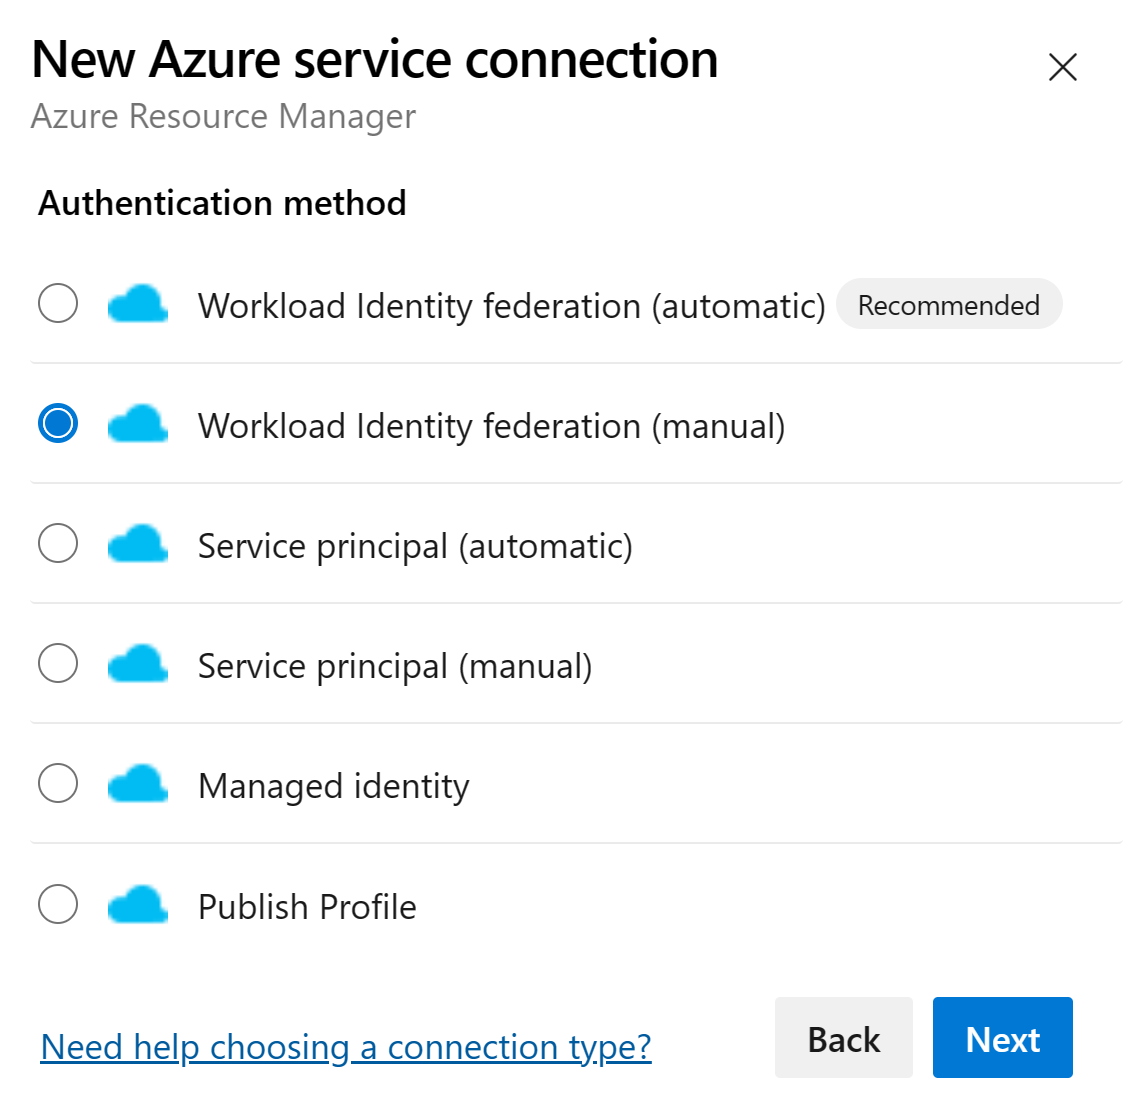
Let’s start by creating service connection from Azure DevOps to Azure:
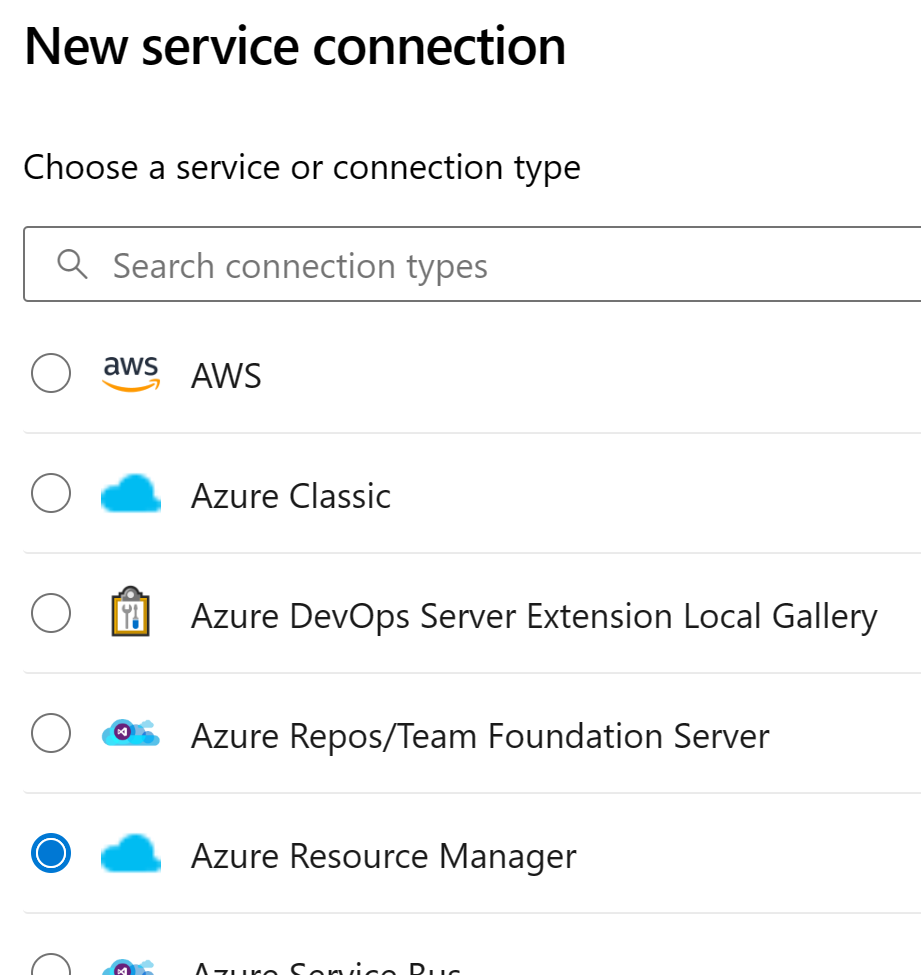
From the available options list, choose Workload Identity federation (manual) because we want to understand how this is connected to the previously created Entra ID app registration:
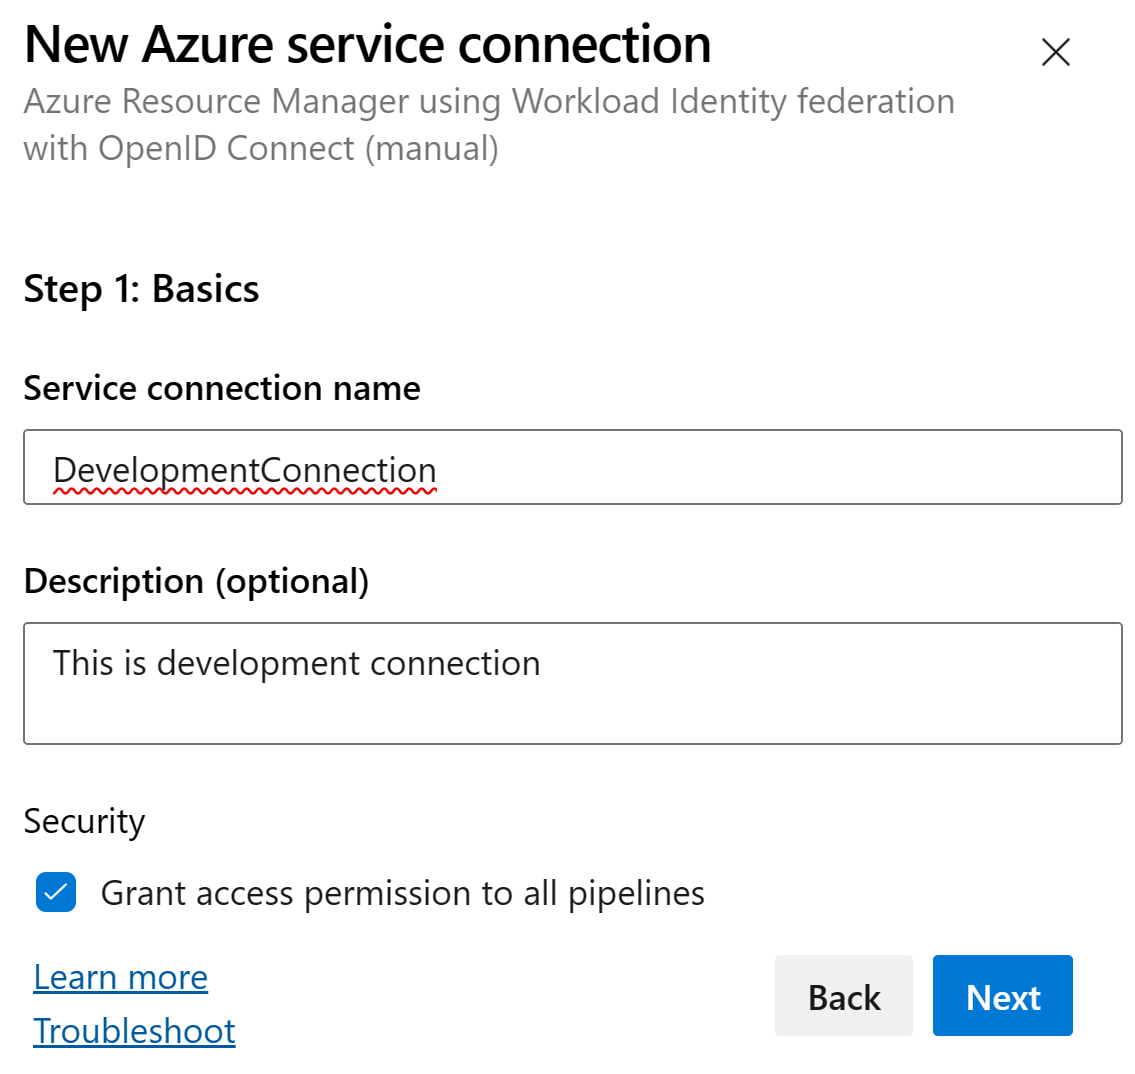
Fill in the details for the service connection:
Notice that it provides the following values for the issuer and subject identifier:
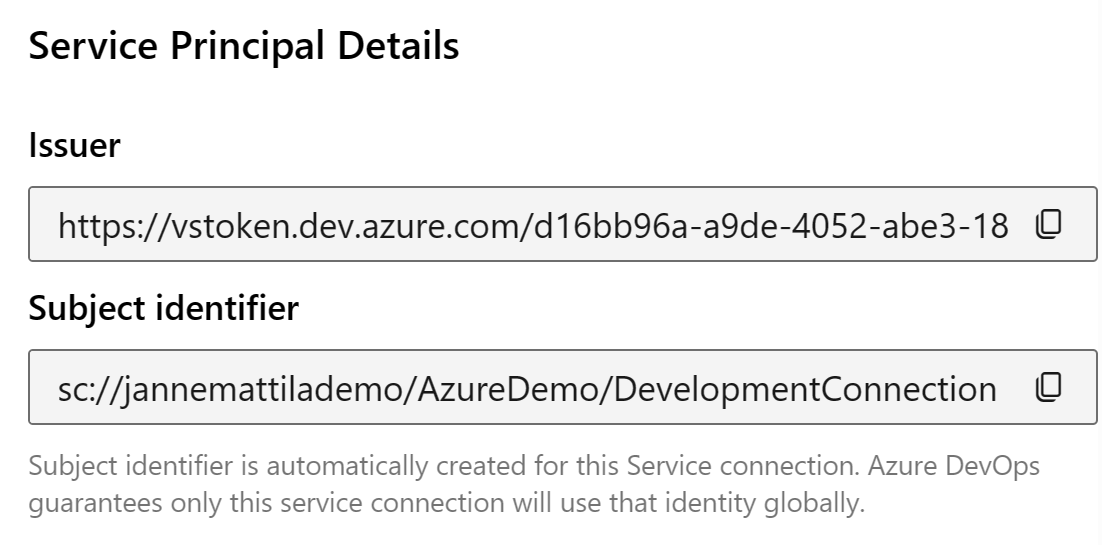
Issuer:
https://vstoken.dev.azure.com/d16bb96a-a9de-4052-abe3-18bde0abb46c
Subject identifier:
sc://jannemattilademo/AzureDemo/DevelopmentConnection
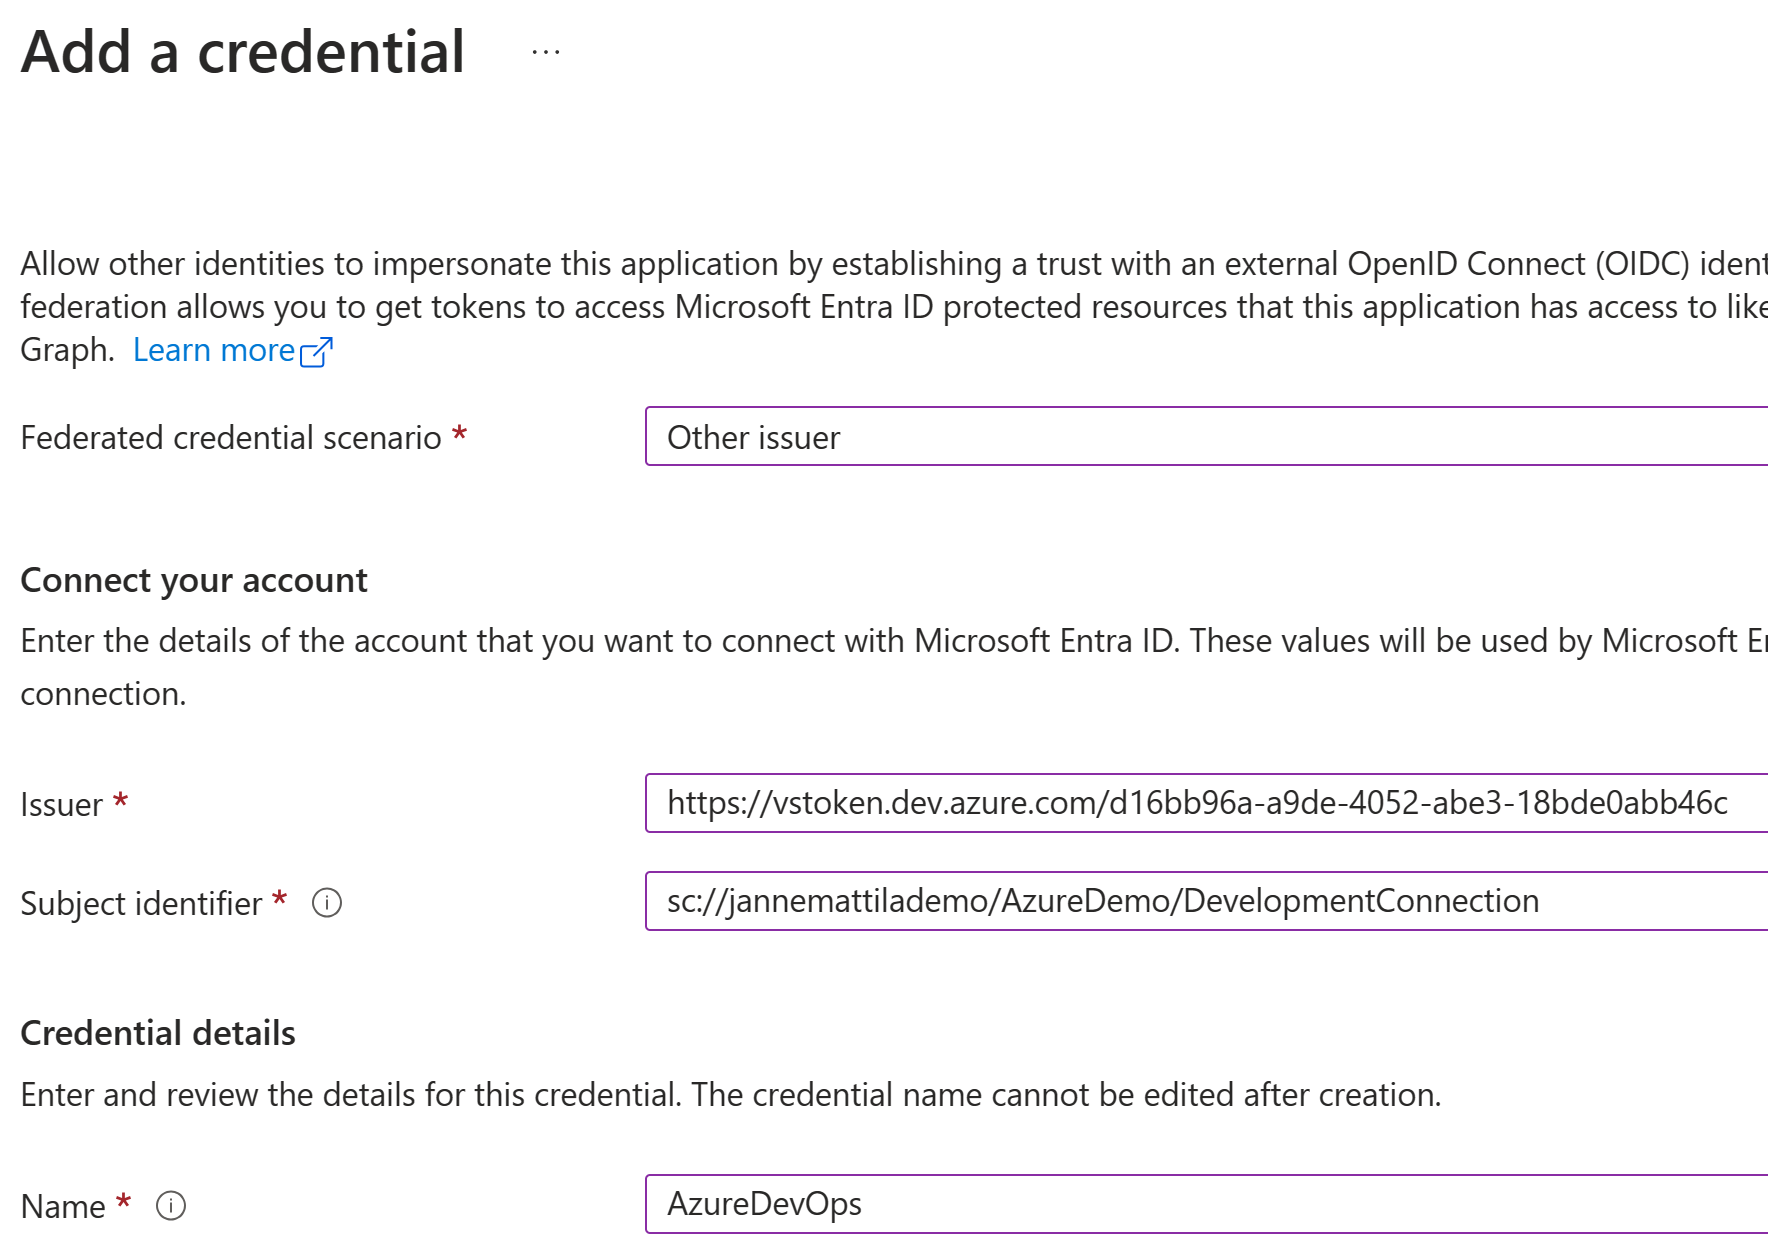
Copy these values to the Entra ID app registration by adding a new Federated credential. Choose Other issuer from the list:
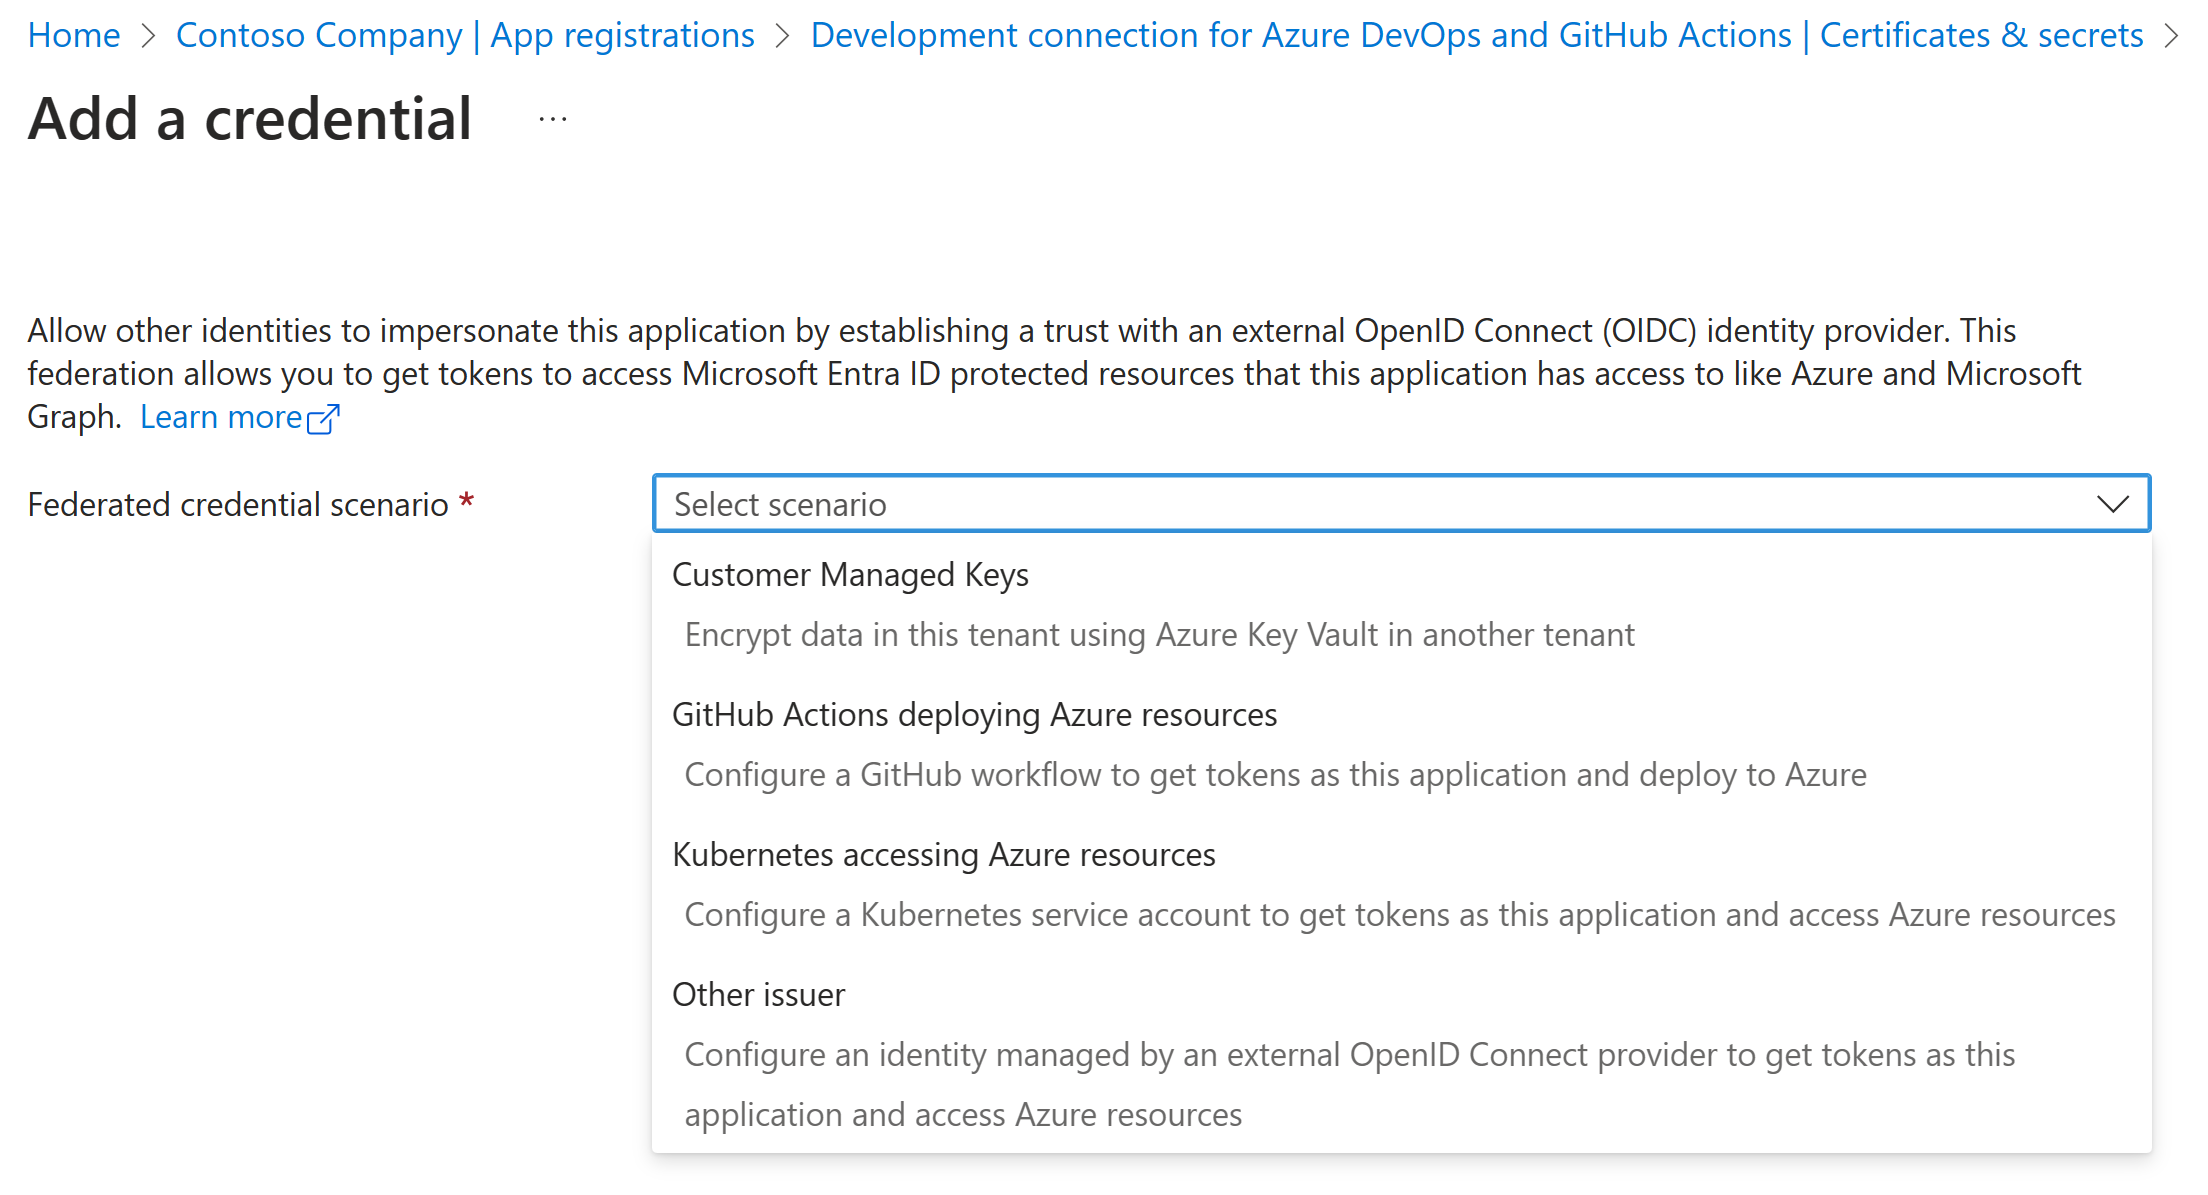
Paste the issuer and subject identifier values to the form and save the changes:
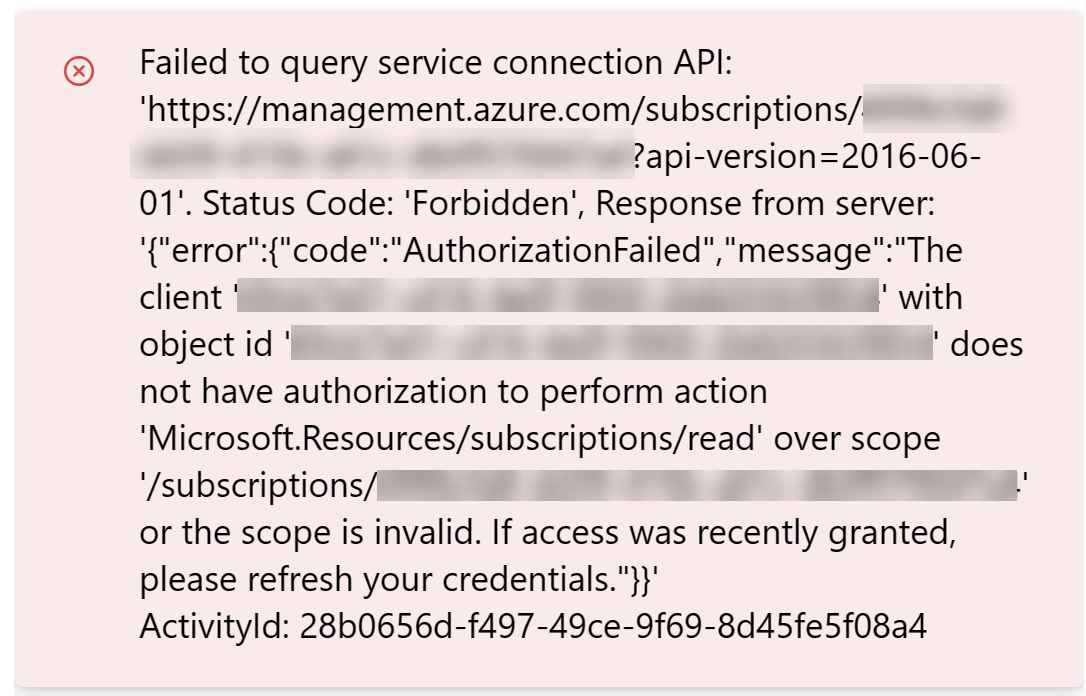
You can now validate and test the service connection from Azure DevOps. If you haven’t granted access to the target subscription for the given identity, you’ll get the following error:
After you have successfully validated and created the service connection, you can use it in your pipelines.
Here’s an example pipeline that runs on a schedule:
schedules:
  - cron: "0 */12 * * *"
    displayName: Automated scan two times a day
    branches:
      include:
        - main
    always: "true" # No changes required to trigger the pipeline

trigger:
  branches:
    include:
      - main
      - develop
  paths:
    include:
      - src/automation-demo

name: 1.0.$(Rev:r)
jobs:
  - job: Automation
    pool:
      vmImage: ubuntu-latest
    steps:
      - task: AzurePowerShell@5
        inputs:
          azureSubscription: "$(AzureServiceConnectionName)"
          ScriptType: "FilePath"
          ScriptPath: "src/automation-demo/run.ps1"
          errorActionPreference: "stop"
          failOnStandardError: true
          pwsh: true
          azurePowerShellVersion: "LatestVersion"
The above pipeline runs the run.ps1 script on a
schedule
two times a day
using the
Azure PowerShell v5 task.
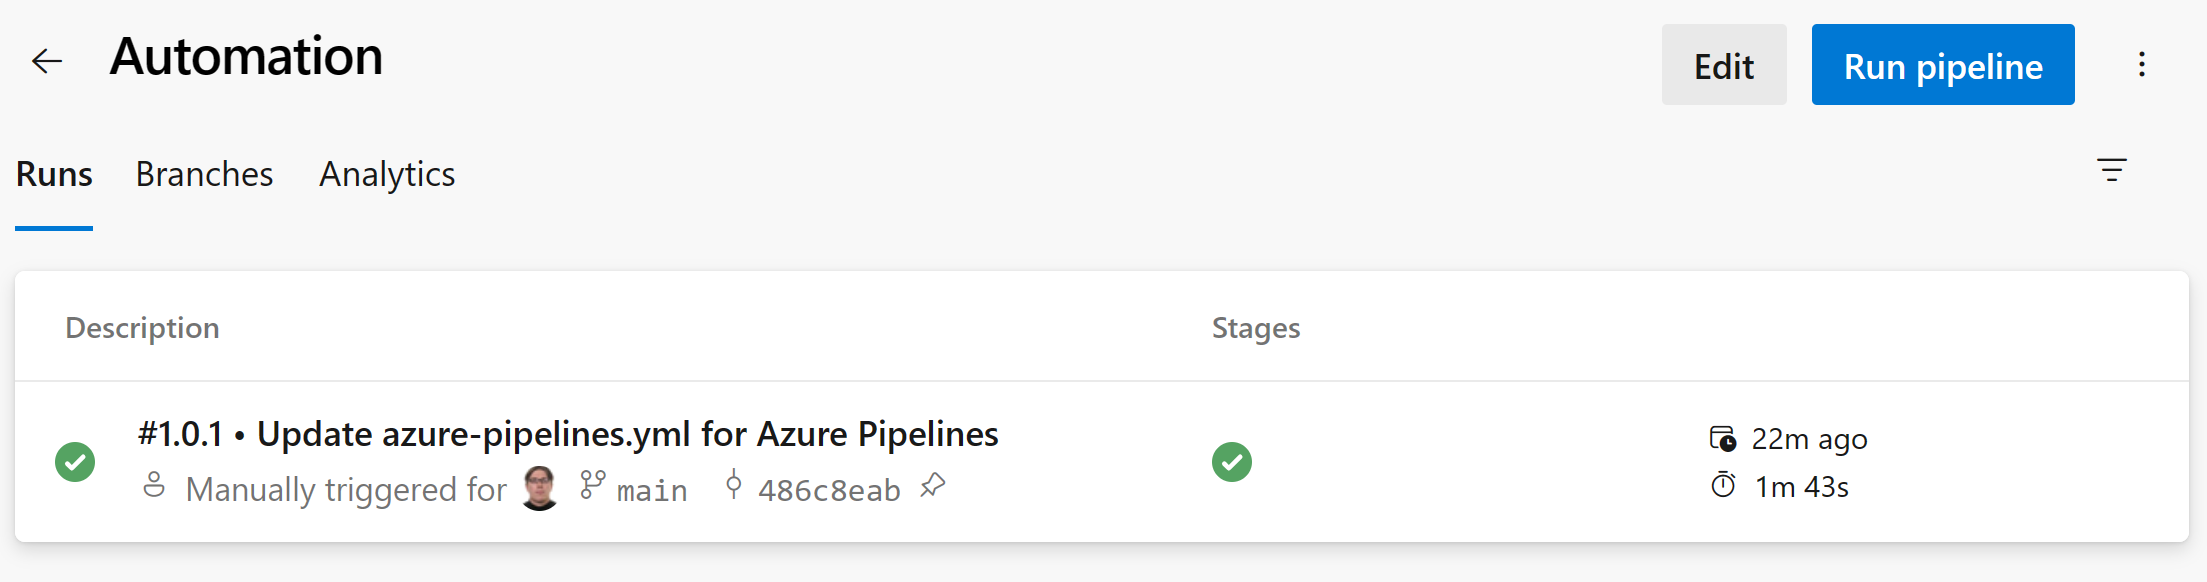
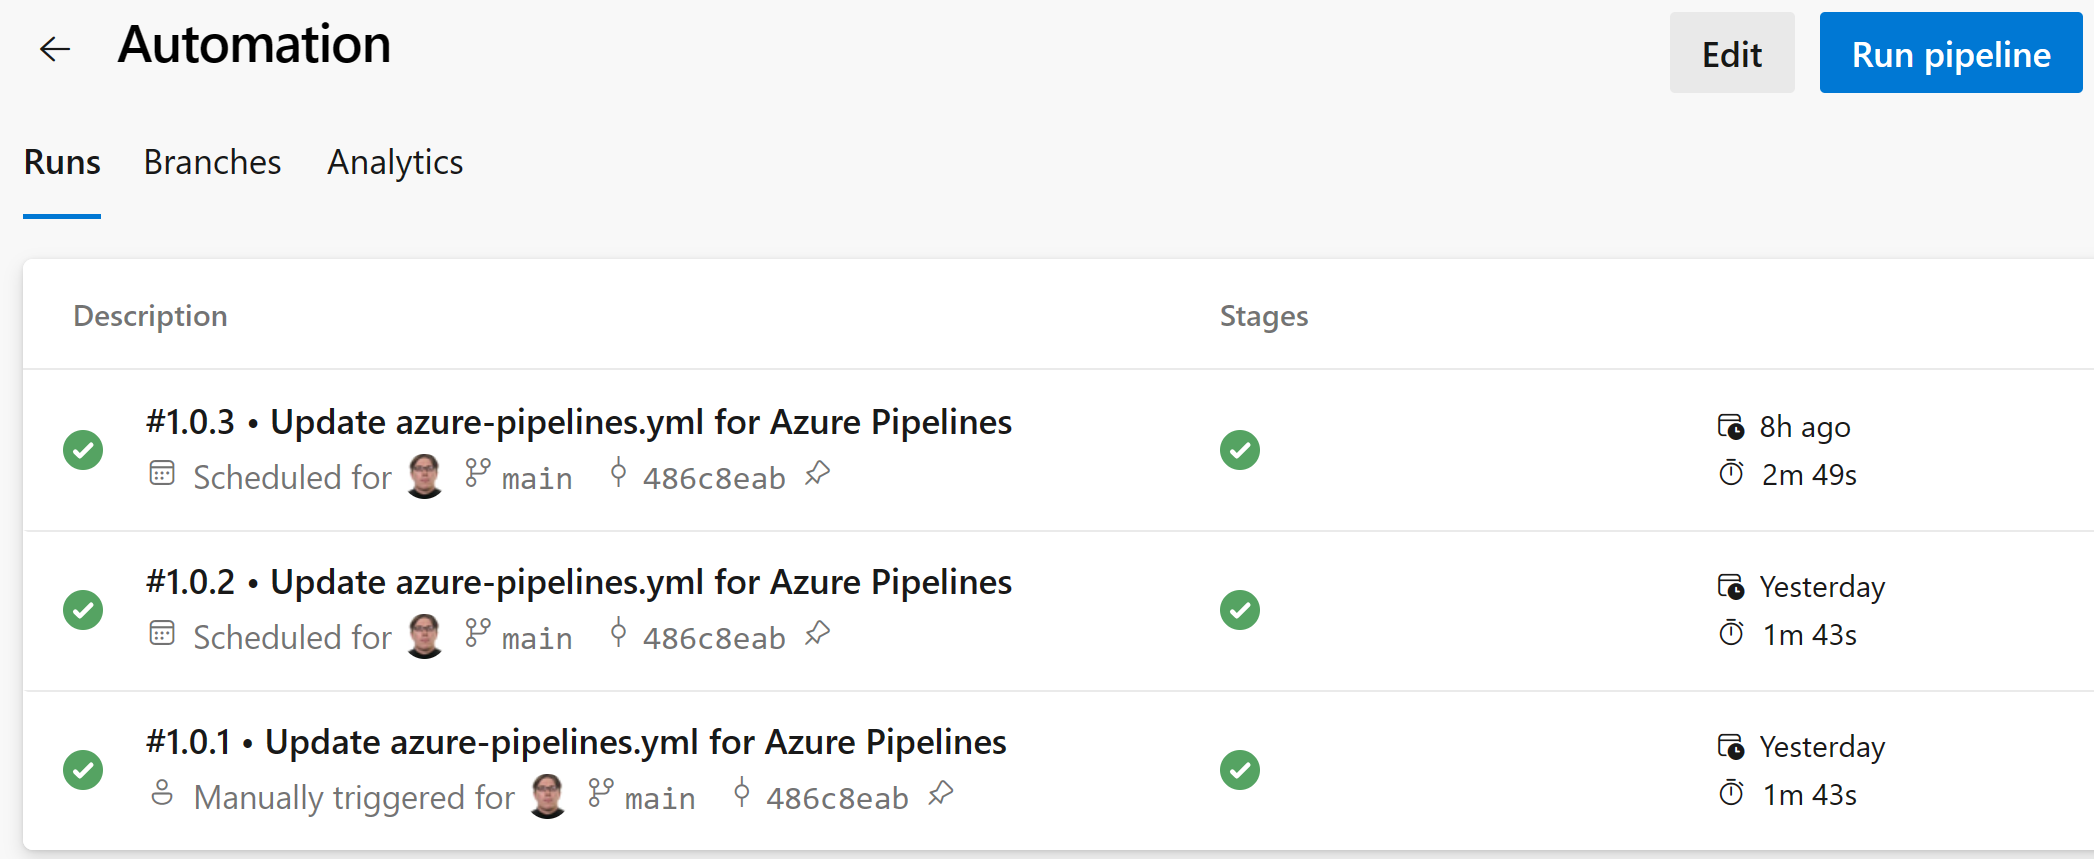
Now we can test the pipeline by running it manually:

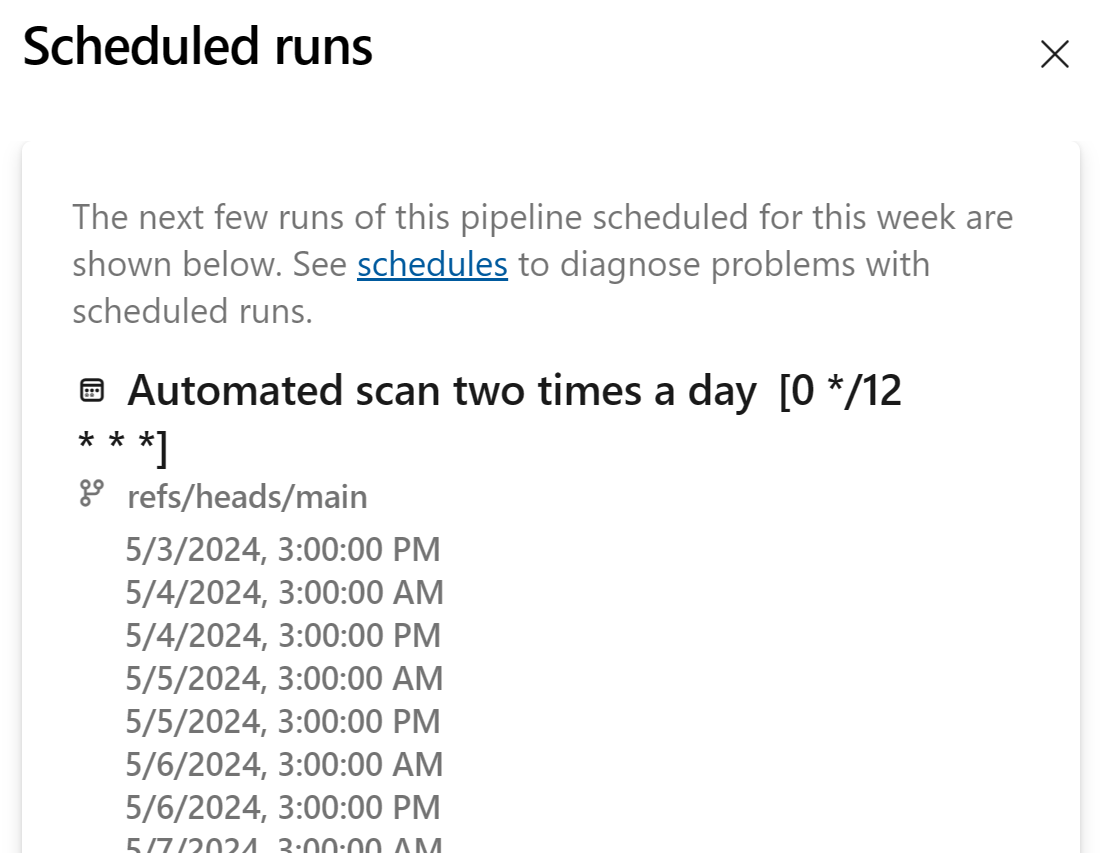
We can validate that the Scheduled runs are as expected:
After a day we can see that the pipeline has run two times as expected:
GitHub Actions
Setting up GitHub Actions connection is very similar to the above.
This time we need to select GitHub Actions deploying Azure resources from the list, when adding the federated credential to the Entra ID app registration:
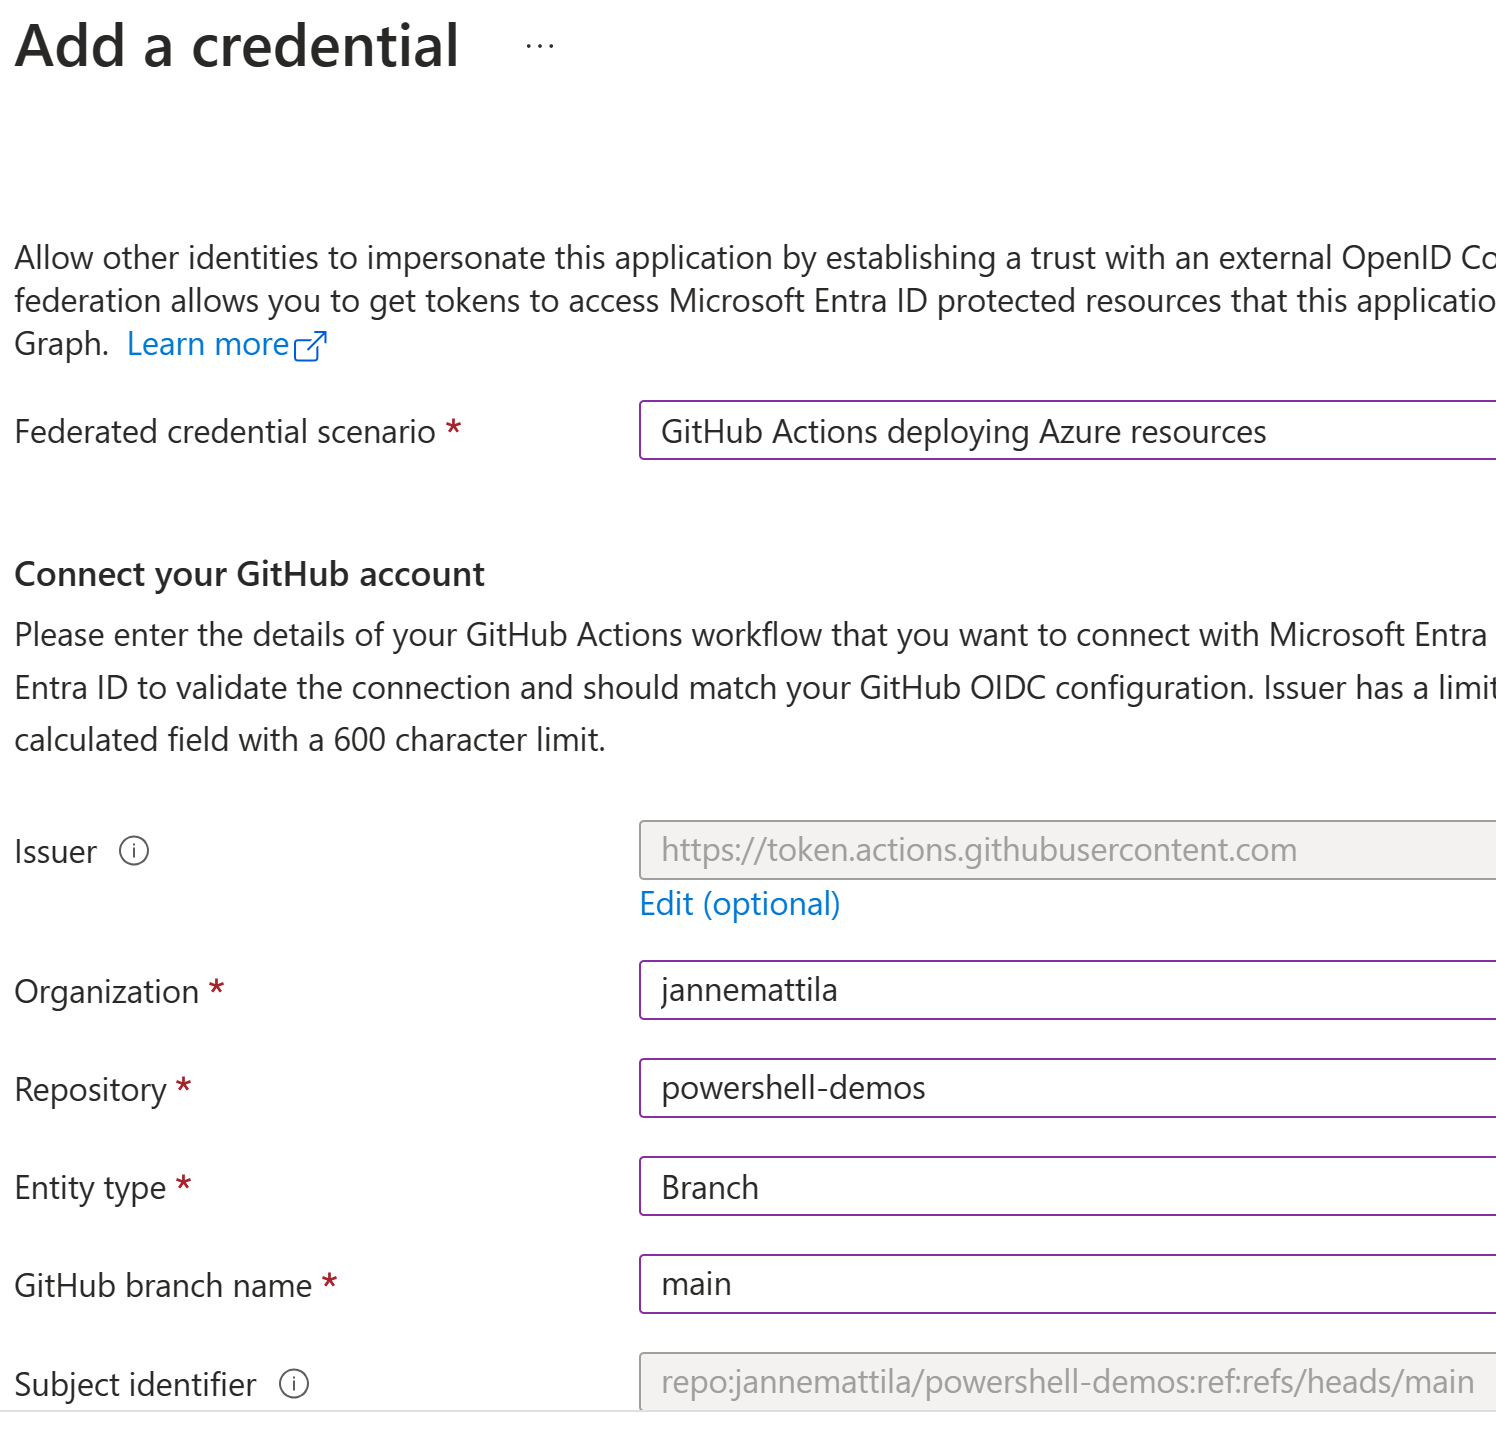
You can notice that the issuer and subject identifier values are different for GitHub Actions:
Issuer:
https://token.actions.githubusercontent.com
Subject identifier:
repo:jannemattila/powershell-demos:ref:refs/heads/main
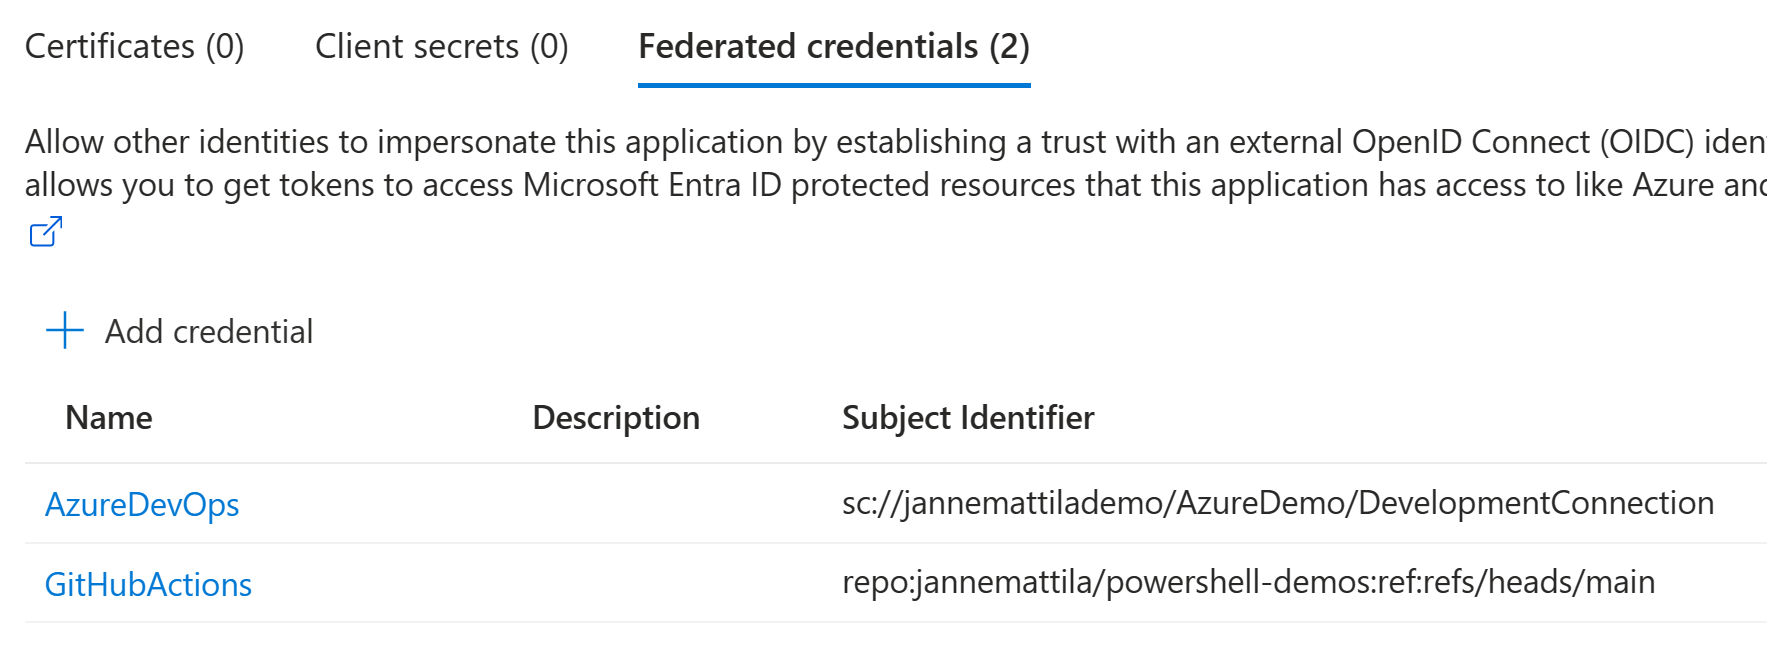
After you have added the federated credential to the Entra ID app registration, we can see that we have now two federated credentials in our app registration:
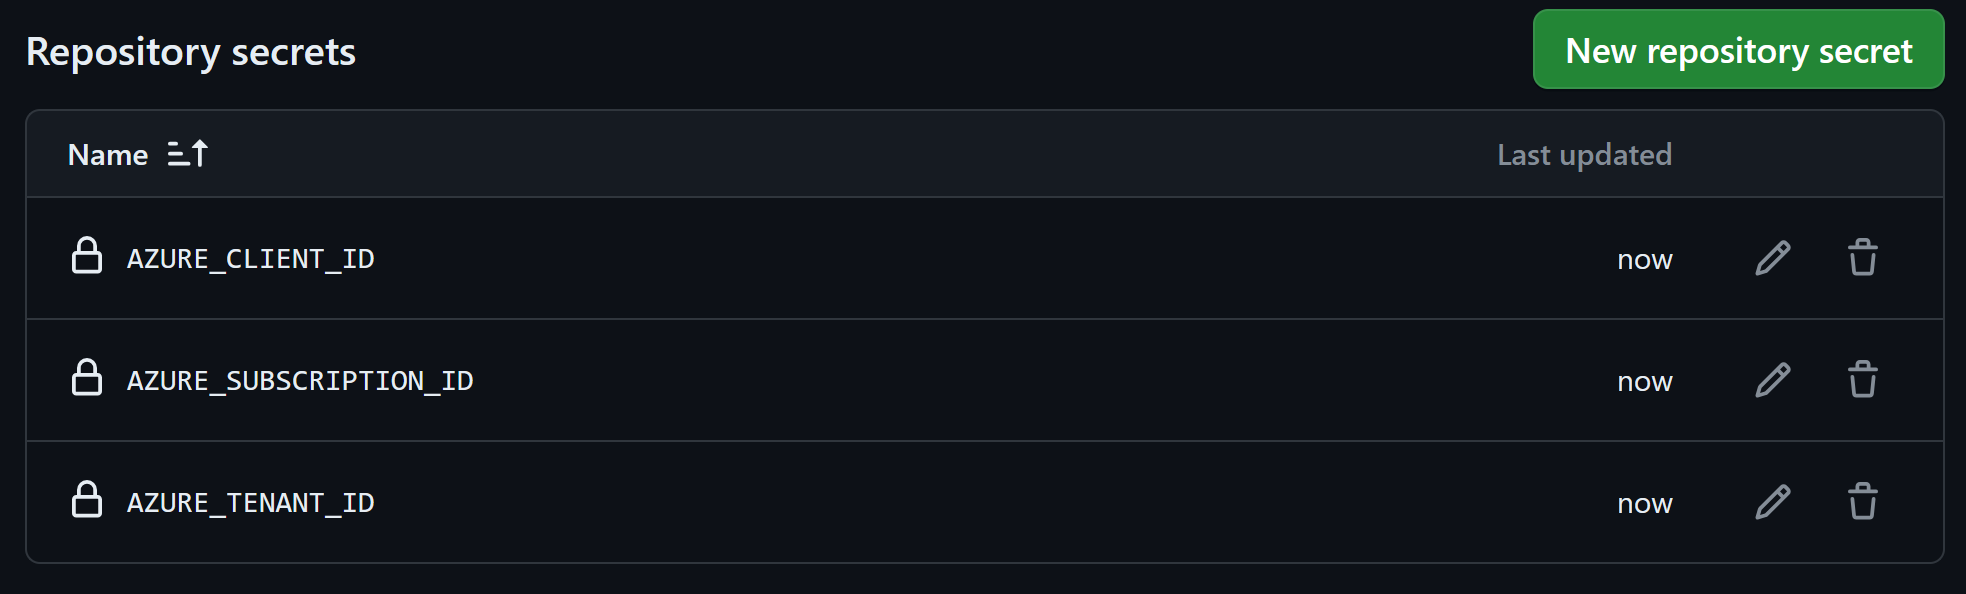
Next, we need to set variables to the GitHub repository for the authentication:
Our GitHub Actions workflow file looks like this:
name: Azure PowerShell Automation
on:
  workflow_dispatch:
  push:
    branches:
    - main
    - develop
    paths:
    - src/automation-demo
  schedule:
  - cron: '0 */12 * * *'

permissions:
  id-token: write
  contents: read

jobs:
  Automation:
    runs-on: ubuntu-latest
    steps:
    - uses: actions/checkout@v4
    - name: Azure login
      uses: azure/login@v2
      with:
        client-id: ${{ secrets.AZURE_CLIENT_ID }}
        tenant-id: ${{ secrets.AZURE_TENANT_ID }}
        subscription-id: ${{ secrets.AZURE_SUBSCRIPTION_ID }}
        enable-AzPSSession: true
    - name: Automation
      uses: azure/powershell@v2
      with:
        inlineScript: src/automation-demo/run.ps1
        azPSVersion: latest
        errorActionPreference: stop
        failOnStandardError: true
The same principles apply here as with Azure Pipelines.
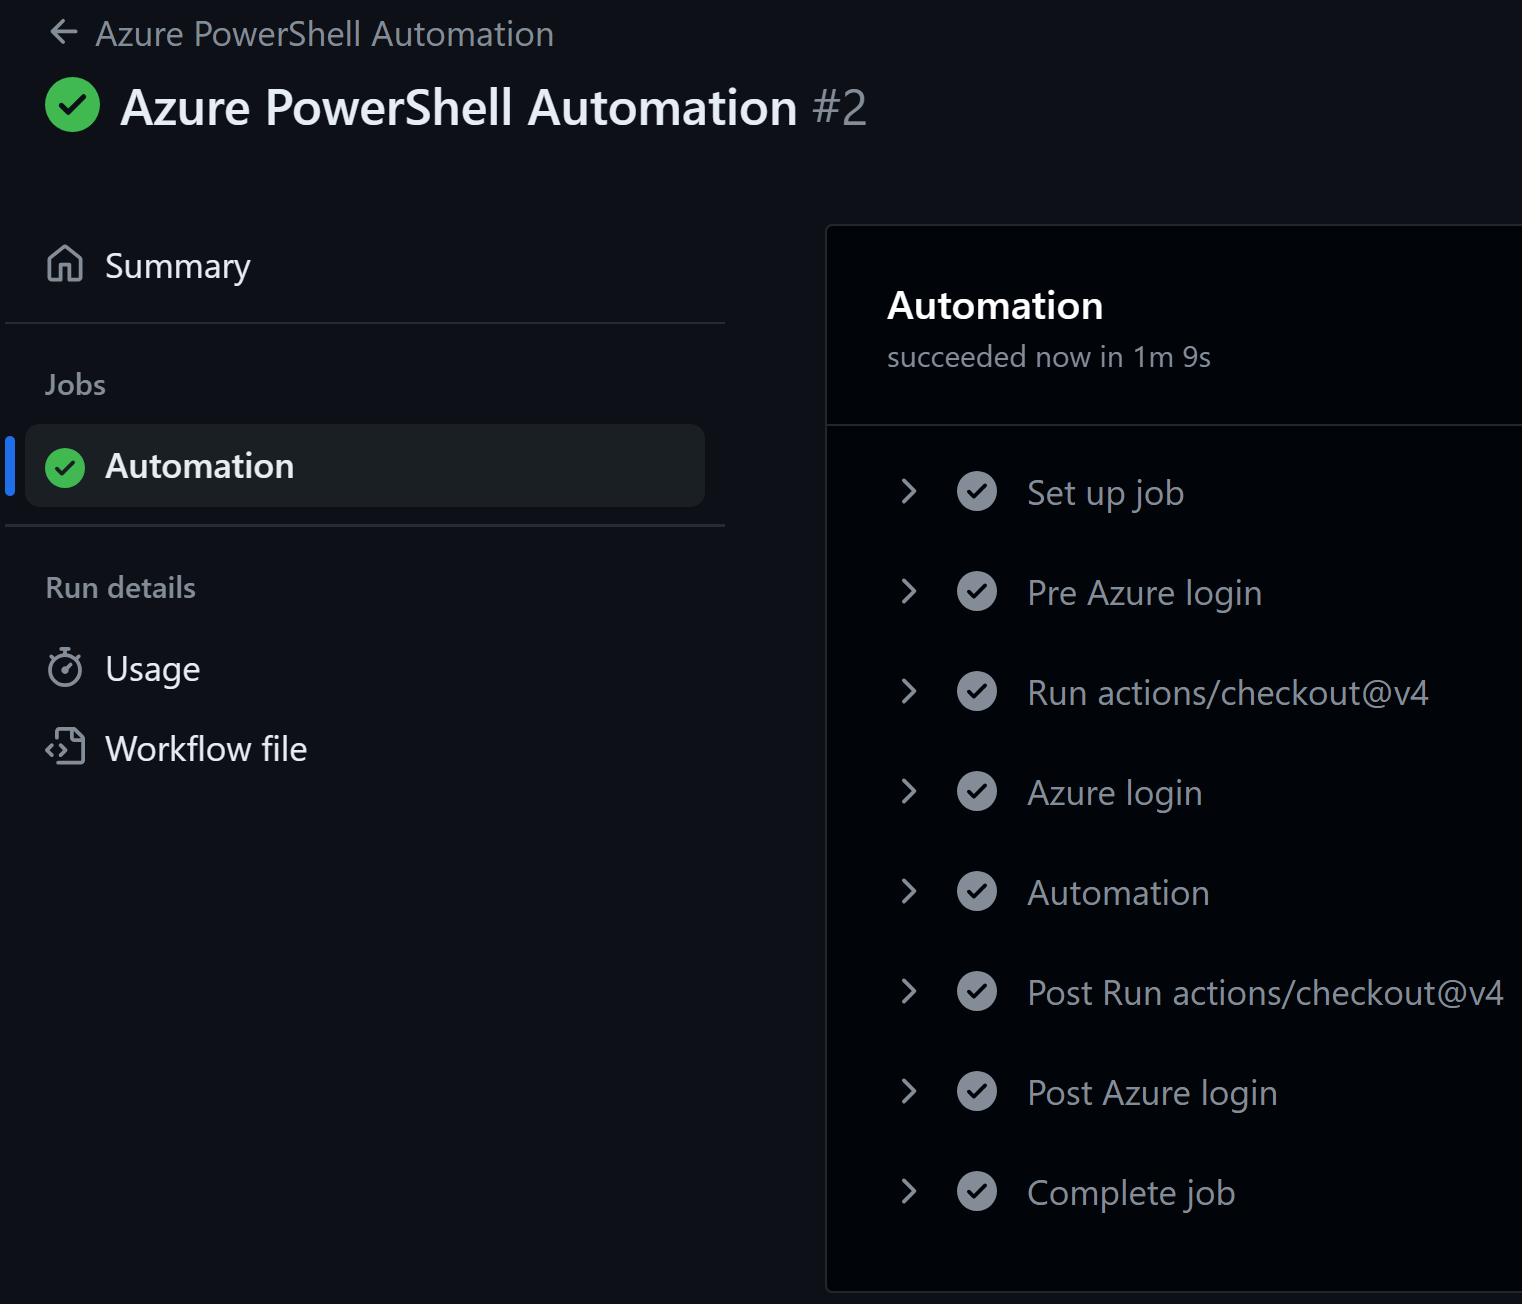
Now we can test the GitHub Actions workflow by running it manually:
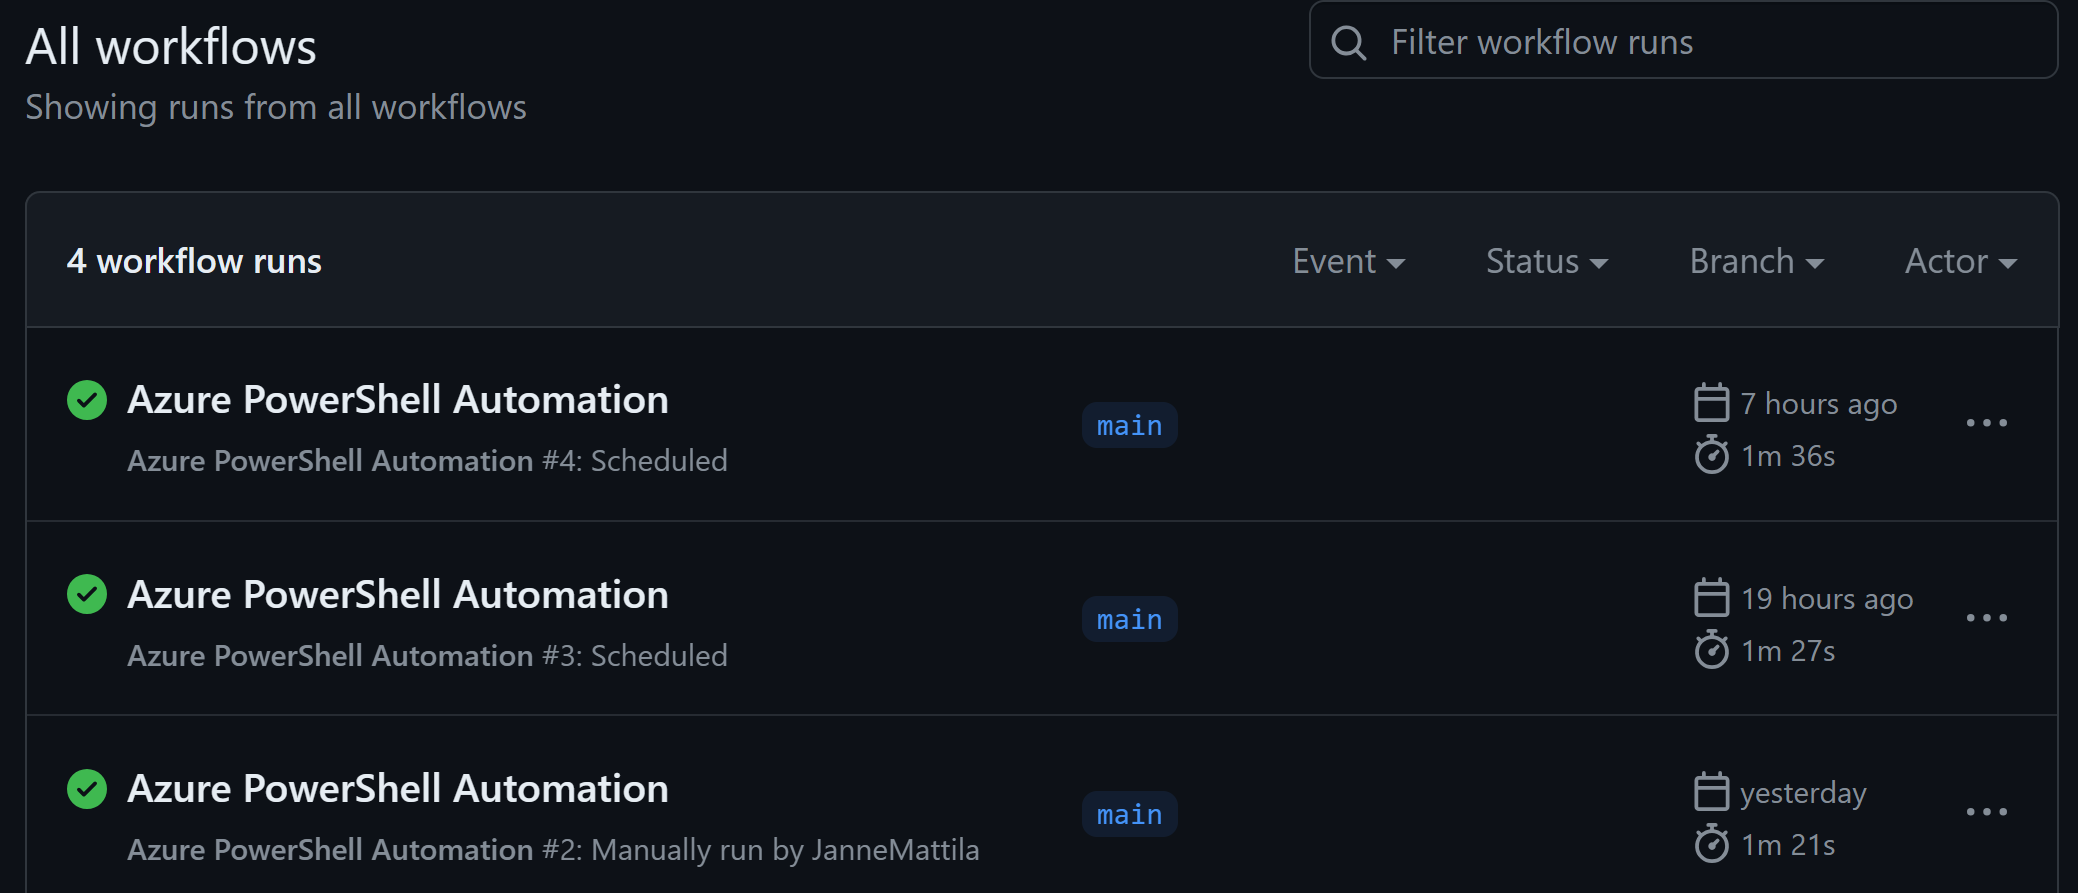
After a day we can see that the workflow has run two times as expected:
Conclusion
In this post, I showed you how to automate tasks with Azure Pipelines or GitHub Actions. They’re both great services for automating tasks and they are very easy to use. Sometimes this is all you need for automation.
One thing you need to be aware of is the possibility that your schedule automation can be paused or suspended due to inactivity. The implementation of inactivity varies between the services and is either user inactivity or then repository commit inactivity but nevertheless it’s good to be aware of this. And as always, there are some workarounds to this topic. But if these automations are part of your actively worked projects and repositories, then this should not be so big of an issue.
Similarly, you have to understand that depending on the agent or runner you’re using, there are some limitations to the execution time, usage limits, and the number of concurrent jobs. Also, if you need to access resources in a private network, you need to use a self-hosted agents or self-hosted runners or use one of the options for private networking with GitHub-hosted runners.
All in all, keep this automation option in mind when you’re planning your next automation task.
I hope you find this useful!